

In this tutorial we will learn 2 methods for creating Isometric Objects: one using an Isometric Grid and the second using Scale, Shear and Rotate tools in Adobe Illustrator. Also we are going to learn how to use Actions to save a lot of time for us and many more. So let’s get started.
1. Create a new document
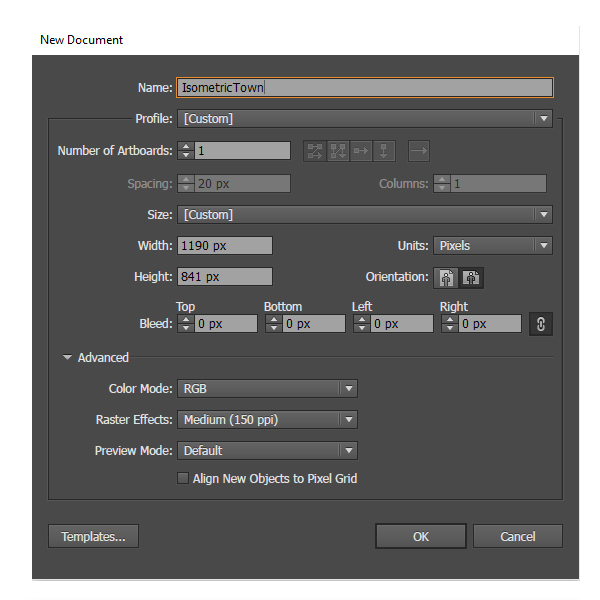
Open up Adobe Illustrator and set up a New Document (Ctrl + N). Name your document, select Pixels from the Units drop-down menu. Click on the Advanced button, select RGB from the Color Mode drop-down menu, Screen (150ppi) and before you hit OK make sure that the Align New Objects to Pixel Grid box is unchecked.
2. First method: using an Isometric Grid
Step 1: Before to draw some Isometric Object we need to create the Isometric Grid, but first of all make sure you have the Smart Guides (Ctrl + U) turned on. Pick up the Line Segment Tool (\) and draw a Horizontal Line. Now, Double click on the Rotate Tool (R) and set the Angle to 30 degrees. Hit OK. Set the stroke weight to 0.25px.
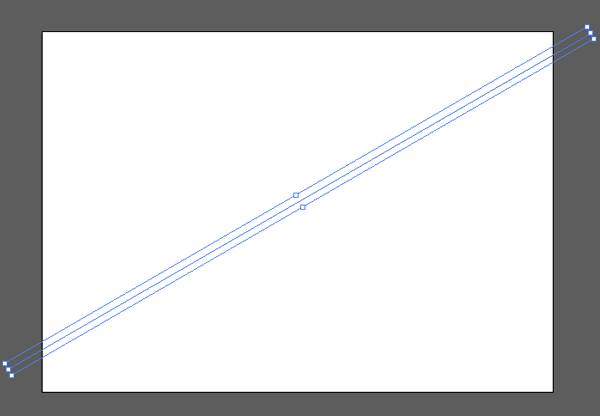
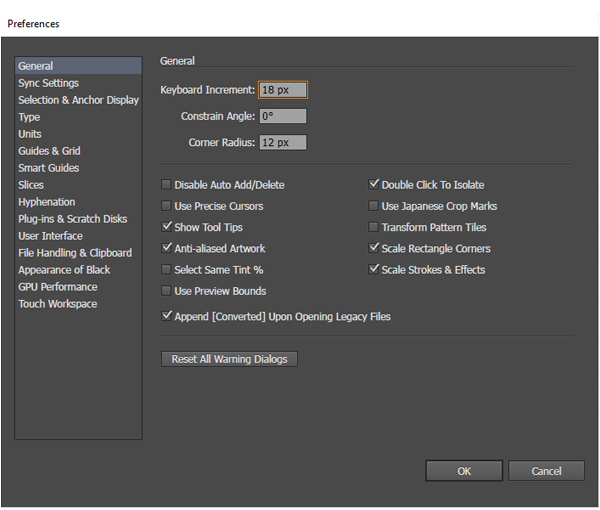
Step 2: In this step we are going to open up the Preferences (Ctrl + K). In the General section set the Keyboard Increment to 18 px. Hit OK. Please notice that Keyboard Increment specify how far object moves when we press one of Arrow Keys. Now select our object, hold down the Alt key, press the Right Arrow Key until you reach the end of the Artboard. Then again select the first object and hold down the Alt key, press the Left Arrow Key until you reach the top of the Artboard. Please see the images below.

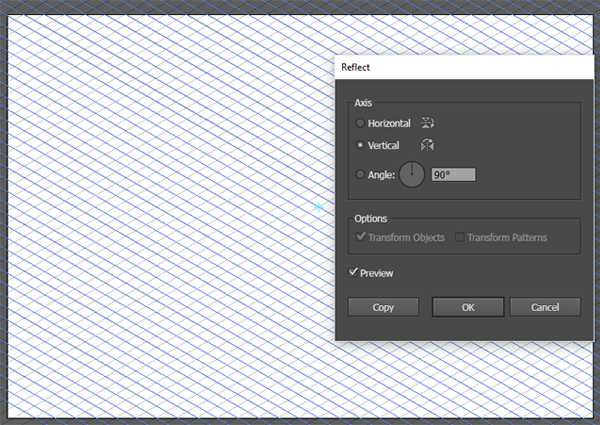
Step 3: Select all (Ctrl + A), Copy and Paste In Place (Ctrl + C, Shift + Ctrl + V). Double click on Reflect Tool ( Ctrl + O), reflect by Vertical Axis. Hit OK.
Step 4: Now grab the Line Segment Tool (\) and draw in a Vertical straight line all the way down to the bottom of the Artboard. Make sure the line is on the right place. See the image below.
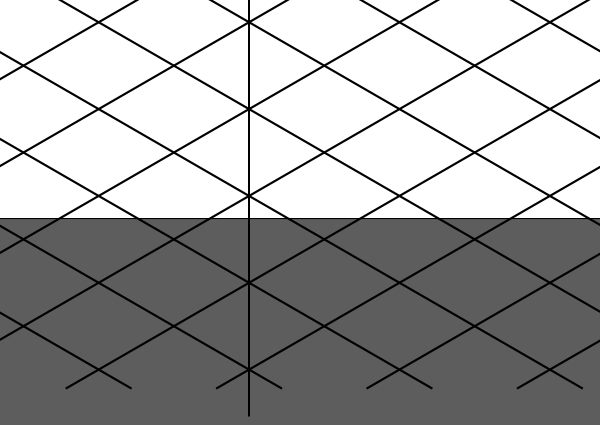
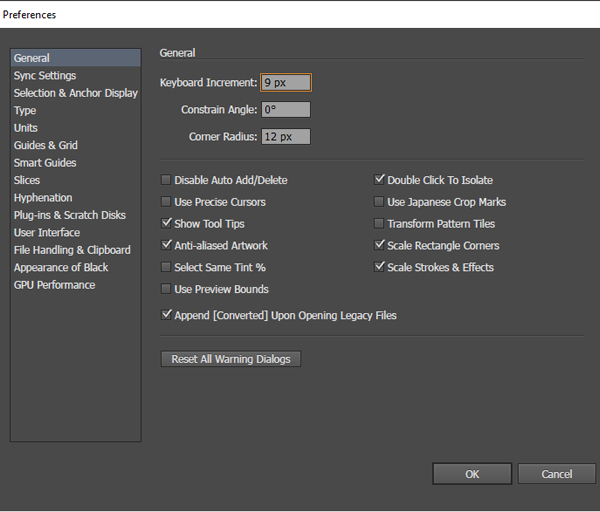
Step 4: Open up the Preferences (Ctrl + K). In the General section set the Keyboard Increment to 9 px. Hit OK. Select the Vertical straight line, hold down the Alt key and Copy it by pressing the Right Arrow Key. See the final result in the image below.
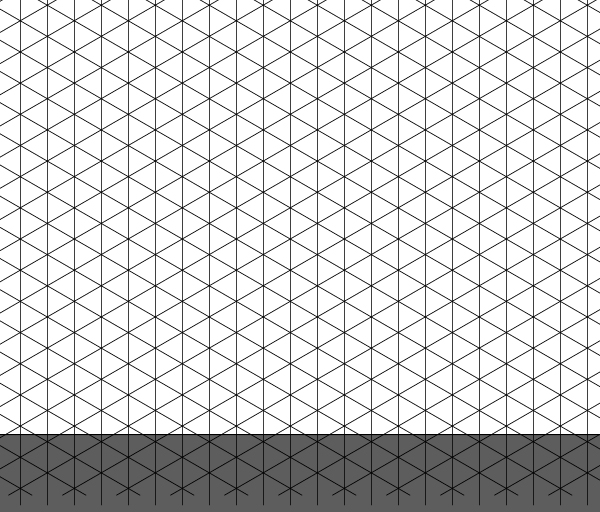
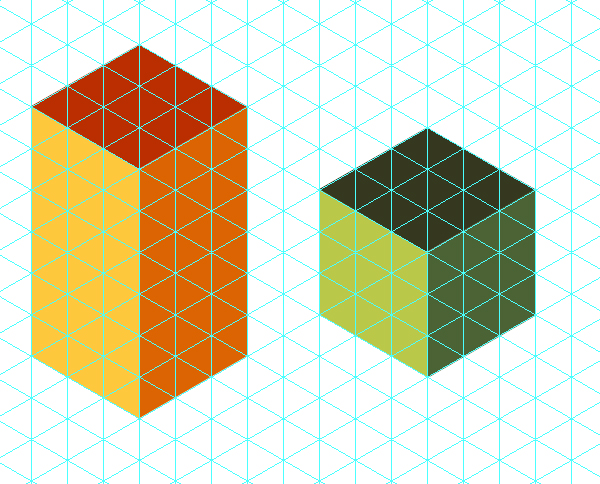
Step 5: Select all this paths (Ctrl + A) and go to View>Guides> Make Guides (Ctrl + 5). Make sure you Lock the Guides (View>Guides> Lock Guides ). So the Isometric Grid is ready. And now you can easily draw Isometric objects with the Pen Tool (P).
2. Second method: using Scale, Shear and Rotate tools