
In the following tutorial you will learn, how to create a traffic cone, using Adobe Illustrator’s 3d effects, gradients and blending modes. Yes, maybe there is a simple way to create a traffic cone, but this tutorial is meant to show you some of the great features Illustrator has (3d effects, gradients and blending modes).
You can use this icon for webdesign, mobile applications or presentations. So let’s start!
This is what you’ll be creating.

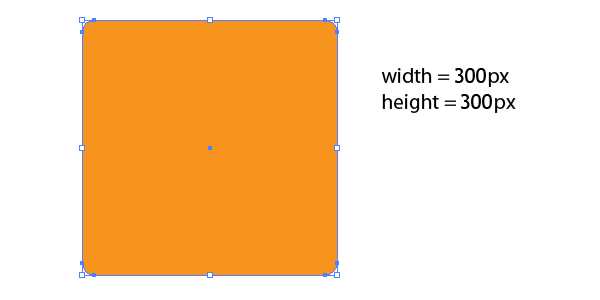
1. Open a new document, then select a 800x600px workspace. If you like to use an another size, no problem, i’m using these sizes almost always. Select the Rounded Rectangle Tool, and create a rectangle with this size: 300x300px. You can modify the angle with the Up and Down arrow keys, while drawing the rounded rectangle. Remove the border ans fill it with a color, you like.
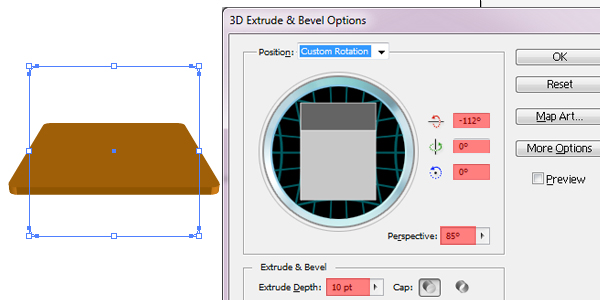
2. Go to Effect > 3D > Extrude & Bevel… and use the settings below.
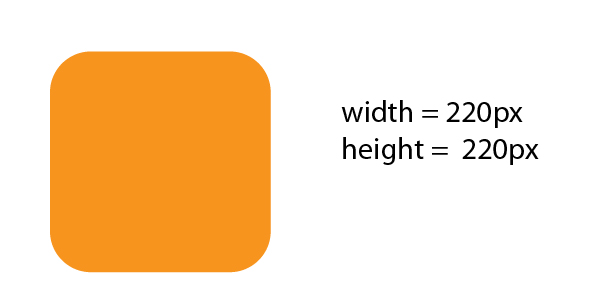
3. Select the Rounded Rectangle Tool, and create another rounded rectangle, but this time increase the angle, with the Up Arrow, while drawing. Use these sizes: width = 220px, height = 220px.
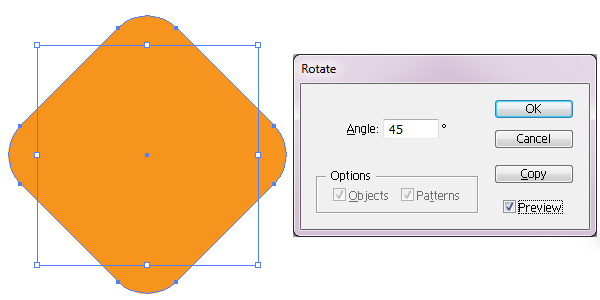
4. Go to Object > Transform > Rotate. Set the angle to 45, and press OK.
5. On the Window > Transform panel modify the objects size: width = 215px, height = 610px.
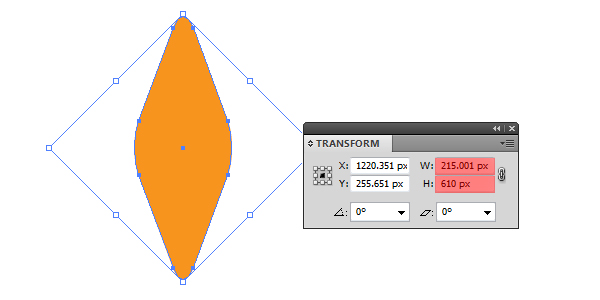
6. Create an ellipse with the Ellipse Tool (E), and intersect with the second object. To do this, place the ellipse over the other object, and select Intersect from the Window > Pathfinder panel.
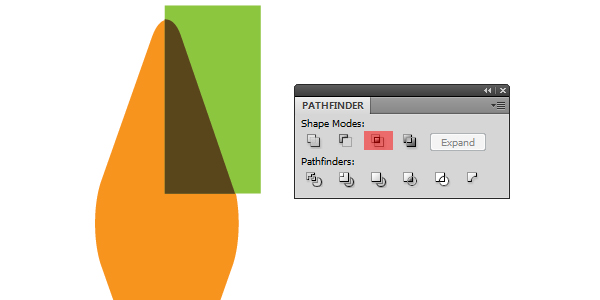
7. Got to Effect > 3D > Revolve, and set these values:
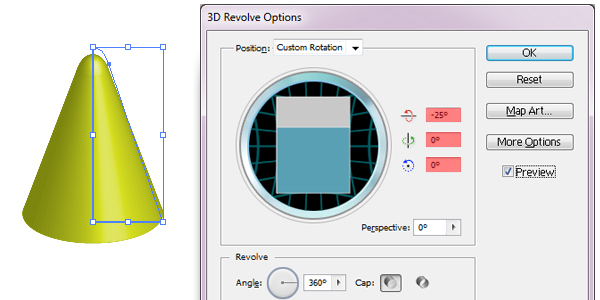
8. Now you have the cone, in a realistic perspective. Place it over the first object. Create three rectangles, one bigger than the other and align them vertically. Fill them with white.

9. With the rectangles still selected, open up the Symbols Palette and drag the cross into it. Give a name to the symbol, set the type to Graphic and press OK.
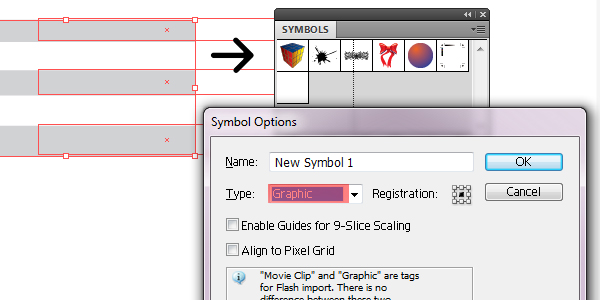
10. While the cone selected, go to Appearance panel, and click on the 3D Revolve layer to edit the effect. In the pop-up window, click on Map Art, choose the Surface 3 and select the three rectangles, you just added into the Symbols panel. Click on the Scale to Fit button, modify the height and place it to the center.
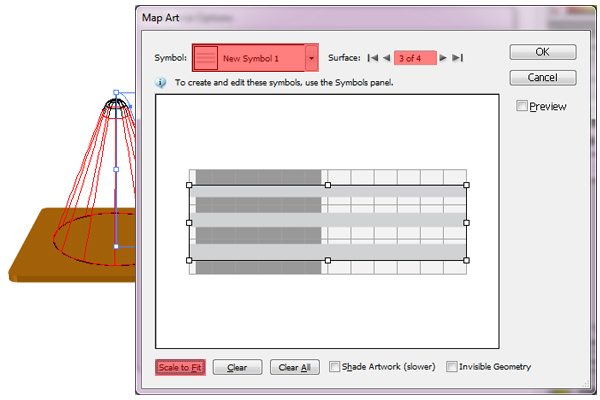
11. Select the bottom object and press Expand Appearance. You can leave it so, you use it later.
Select the cone and go to Object > Expand Appearance. Ungroup the result. Click on a line, go to Object > Clipping Mask > Release.
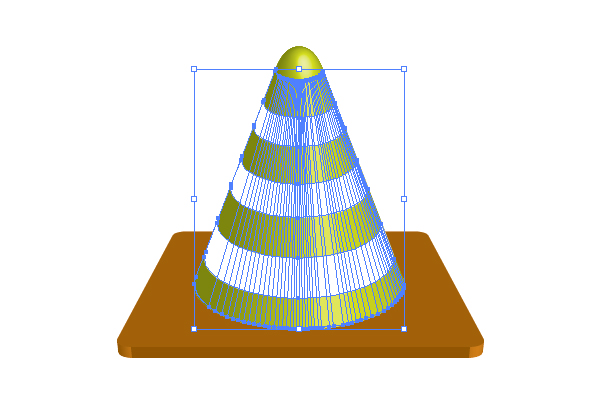
12. Now you can select the three white lines. Select and Cut (Ctrl + X) them. Select the remaining objects, and Unite them on the Pathfinder panel.
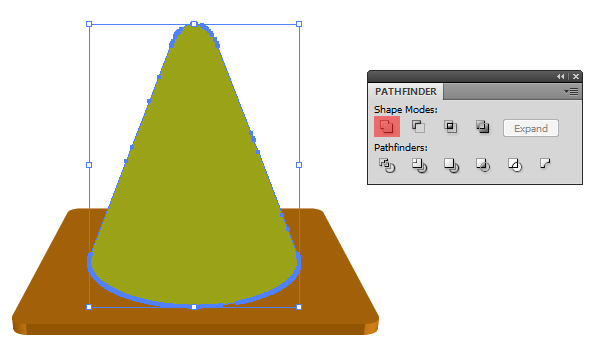
13. Place the three lines back to their place (Ctrl + F).
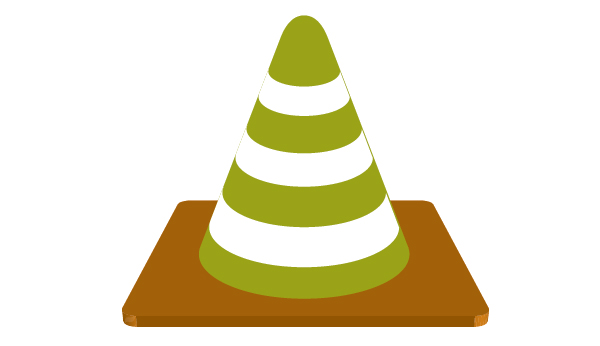
14. Select the cone, and fill it with a gradient color from top to bottom.
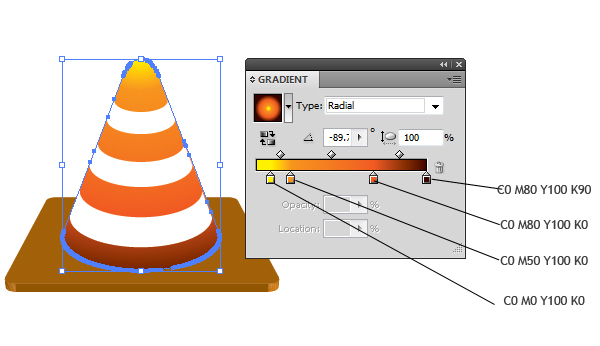
15. Duplicate the cone (Copy – Ctrl + C, Paste in front – Ctrl + F). Fill the second cone with a gradient from white to black, …
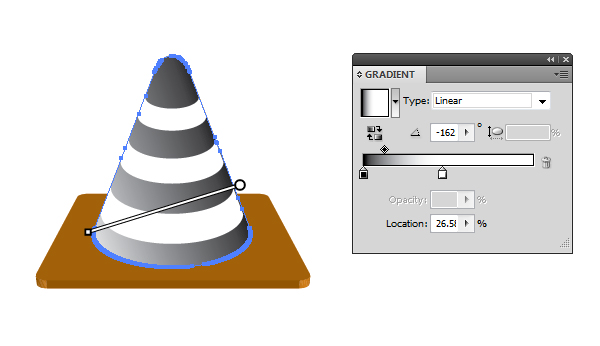
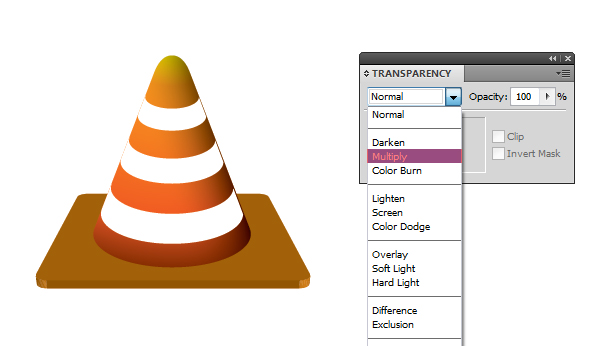
… and set the blending mode to Multiply on the Transparency panel.
16. Duplicate it (Ctrl+C, Ctrl+V), and place it between the two parts of the binocular. Select the front-side objects(1,2,3,4), and bring to front (Ctrl+Shift+]), to hide the second “bridge”.

17. Create two circles with these sizes: 1. width = 65px, 2. width = 10px. Align them vertically. Select the two circles, go to Windows > Align panel, and press Horizontal Align Center.
 18. Duplicate the smaller circle, and position it to bottom of the bigger circle. Go to Object > Transform > Rotate and set 30º. Press Copy. Now, press Ctrl + D four times.

19. Select all the circles. Go to Pathfinder panel and press Minus Front. Now tthe 3D part: Go to Effect > 3D > Extrude & Bevel… . Use the settings as you see on the image below.

20. Place this object to the binocular. After you find his place, you need to arrange the other objects in front. Select the numbered objects (1, 2, 3, 4, 5 ), and press Ctrl + Shift + ].

21. Now, the final object. Create an ellipse with the Ellipse tool (L), with this size: width = 60px, height = 40px. Create a rectangle. Width = 22px, height = 15px. Place the rectangle to the ellipse, as you see on the image and press Intersect on the Pathfinder panel. Go to Effect > 3D > Extrude & Bevel… and use the settings as you see on the image.

22. Place this object to the binocular.

23. Select all objects. Go to Object > Expand Appearance. You transformed the 3D objects into separate groups. Select a group. I started with the lenses.
Press right mouse button, and Isolate selected group (or double click with left button). In order to manipulate the shape further you will first need to go to Object > Ungroup. After expanding the 3D objects you get some hidden objects, you don’t need. To remove them, select all visible shapes by clicking on them. When your done, use the Rectangular Marquee tool while holding the Shift key and make a box around the design. Doing so, you will select all the shapes you don’t need, and delete. If you see, that something is missing, go to Edit > Undo, and repeat the selection, until you get the right results.

24. Now select a shape, and press Unite on the Pathfinder panel. The result will be a really simple shape with no Clipping Mask, nothing. Just a shape. Give it a color (no mater what), so you can identify easier later. Repeat this step with every object inside the group.


25. Repeat the above steps (23, 24) with all objects, until you have only the needed (simple) shapes. At the end, you will see something like this.

26. It’s time to decide where the light source is. I prefer when the light comes from left. This means, that the right side of the binocular is darker. I used a gradient color to achieve this effect, as you see on the next image. Reposition the gradient to be as realistic as possible (G).

27. You can use the same gradients on the other objects, with minor modification on gradients directions (G). You can copy the color from the first shape if you select the shape you want to fill, press the I key, and click the first shape, you filled already.

28. Some parts (the green ones) need a simple gradient. Color them with a simple gray to black gradient or you can play with the possibilities.

29. For better realism we need shadows and reflections. Duplicate the two front tubes (Ctrl+C, Ctrl+F). Fill them with a radial, white to black gradient. After you set the gradient direction, go to Windows > Transparency panel, and set the Blending mode to Multiply.

30. To create the shadow on the middle part of the binocular, duplicate that side (Ctrl+C, Ctrl+F), create a big circle with the Ellipse tool (E), and go to pathfinder panel and select Minus Front. Fill the result shape with a radial, white to black gradient. After you set the gradient direction, go to Windows > Transparency panel, and set the Blending mode to Multiply.

31. Repeat this on the front tubes.

32. To create a reflection on a lens, duplicate it, and move upwards. Duplicate the second shape (Ctrl+C, Ctrl+F). Create a circle, and intersect (Pathfinder panel) with the duplicated lens. To place this, “inside” the tube, cut (Ctrl+X) it, select the lens by clicking it, and paste (Ctrl+F) from the clipboard.

33. Choose a beautiful blue color, and fill the lenses with a radial gradient. Maybe you want to try this: 1. C45 M0 Y0 K0, 2. C100 M50 Y0 K65.
 34. As a final step let’s give a little shine to the binocular! Select the dark object near the tube, place to the clipboard (Ctrl + C), and fill with a gradient from white to black. Place it so, that the white part will be in the center.

35. Paste the copied shape back to its place (Ctrl + F), and move down with the arrow keys. You’re done! I hope that everything was clear and detailed.
