In the following tutorial, you will learn to create a simple flying vector UFO in Adobe Illustrator. Using 3D effects and Gradient Mesh, you will learn to create this piece with realistic effects.
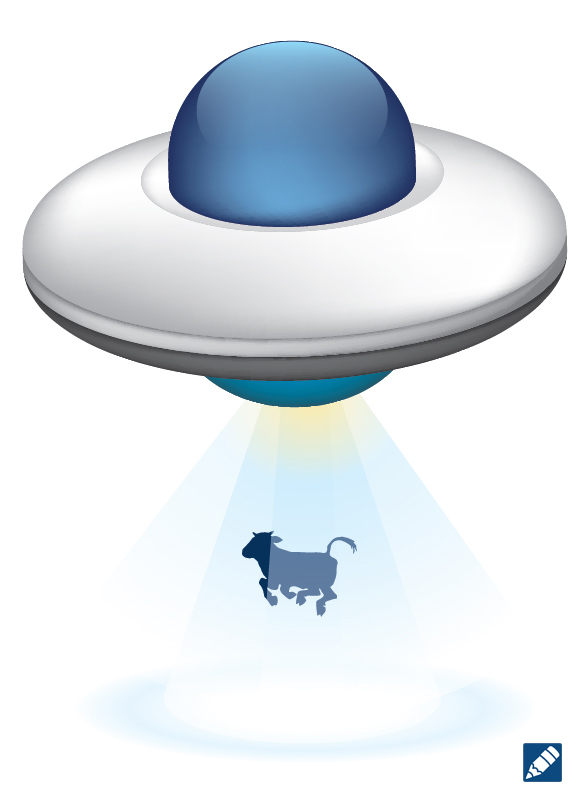
Final preview
Step 1
Create an artboard that is 800 x 600px. Select CMYK color mode, Screen (72ppi) and make sure that the “Align New Objects to Pixel Grid” box is unchecked before your click OK.
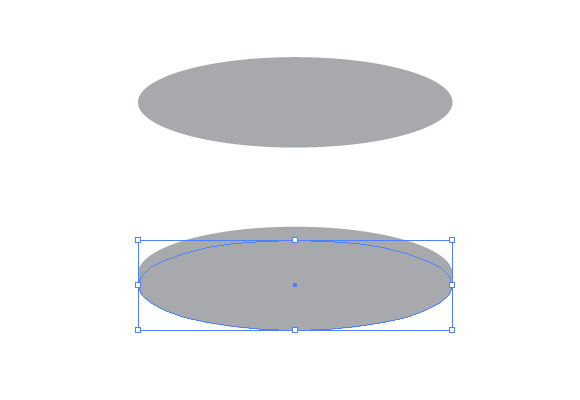
Step 2
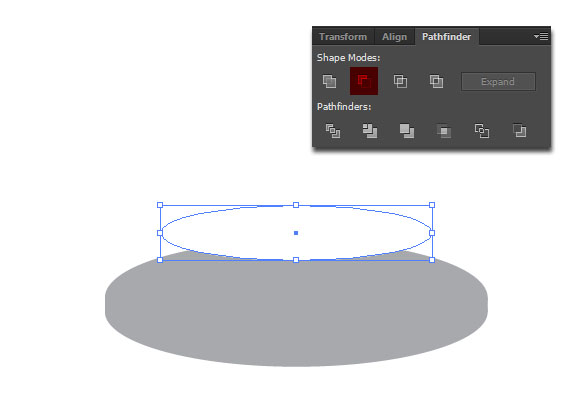
Create an ellipse with the Ellipse Tool (L). You don’t need to set a size. Just make sure that it is similar to the one on the image below. Duplicate the ellipse (Ctrl +C, Ctrl + F) and move it down with the Down Arrow Key.
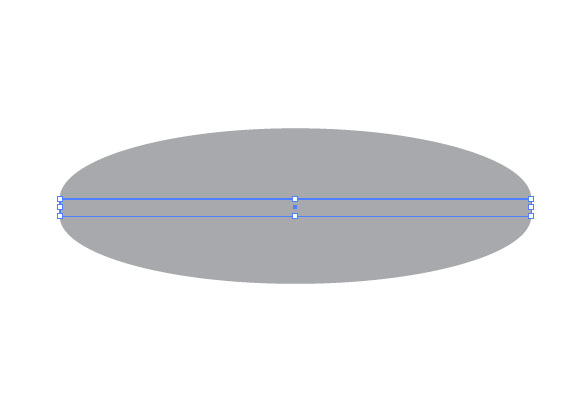
Step 3
Create a rectangle with the Rectangle Tool (M). Place it between the two ellipses.
Step 4
Create a new, smaller ellipse and place it over the other shapes. While the new ellipse is selected, press the Shift Key and select the other from the top. On the Window > Pathfinder Panel, select the Minus Front option.
…
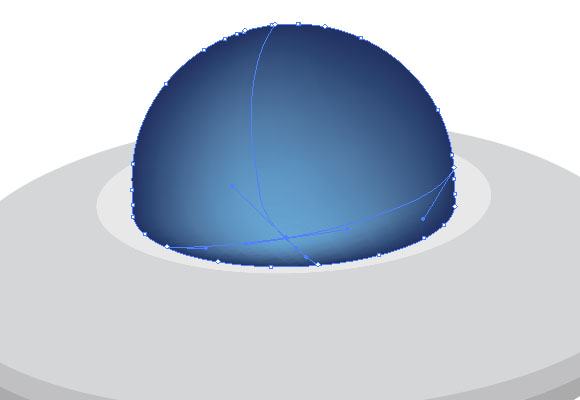
Step 15
Now you can start using the Mesh Tool. Let’s start with the cockpit. Click anywhere on the shape’s area. After converting a shape into a mesh, you can select its points with the Mesh tool, Direct selection tool or the Lasso tool. Now you can add a color to the mesh. Select a color from the swatches palette, or use the Eye Dropper Tool (I) to select a color from an image.