Today we are going to learn, how to create Thor‘s Hammer, the Mjölnir. In this tutorial you will learn the basics of 3D Effects, to use gradients and other basic Tools.
I presume that you have read some of the other tutorials here on Vectorgraphit, so you already know how to use the basic tools.
As a first step, create a new document with a 600x600px workspace with CMYK Color Mode.
1. Create two Rectangles (201 x 155 px and 53 x 363 px).

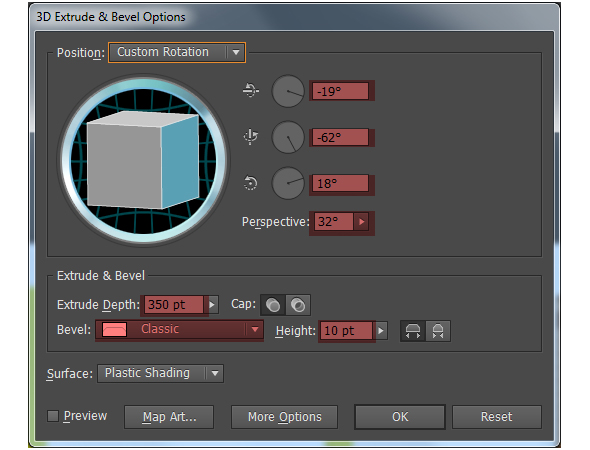
2. Go to Effect -> 3D -> Extrude & Bevel and use the same settings as you see on the image below.
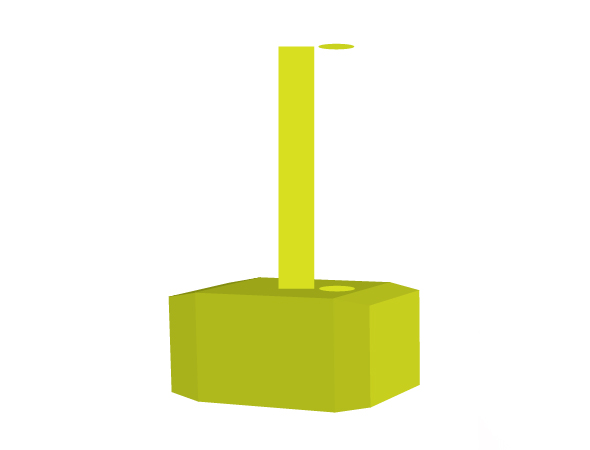
3. Place the smaller rectangle over the “head of the hammer”, then create two ellipses (53 x 8 px).
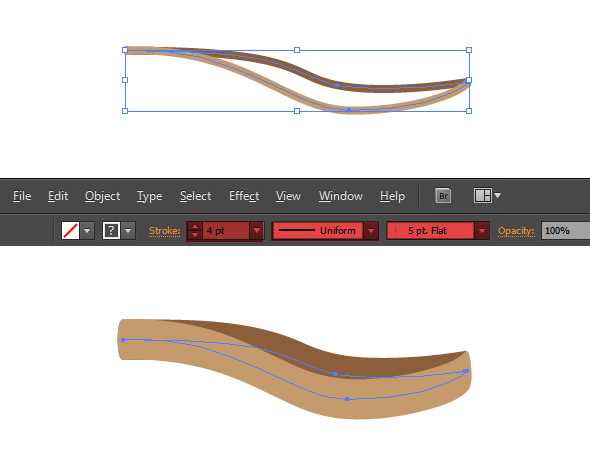
4. Draw two lines with the Pen Tool and use these settings: Stroke: 4pt, Uniform width, 5pt. Flat Brush.
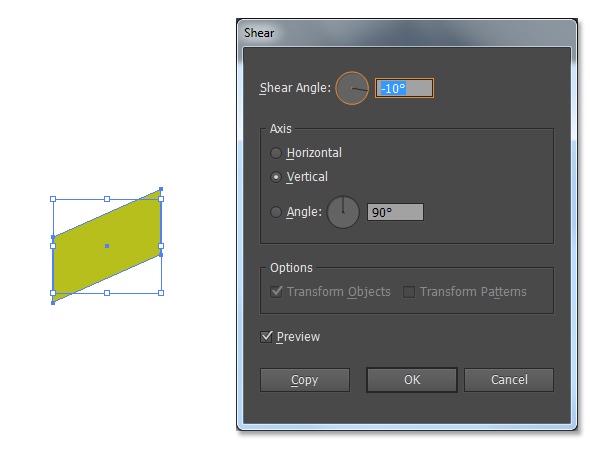
5. Create a rectangle (54 x 33 px). Go to Object -> Transform -> Shear, set the Angle to -10°, select Vertical Axis and press OK.
 6. Duplicate this rectangle and repeat the transformation but set the Angle to 35°. Fill it wit some other color.
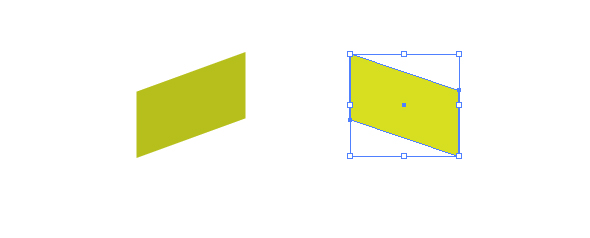
7. Place them one over the other and duplicate them to get this effect:
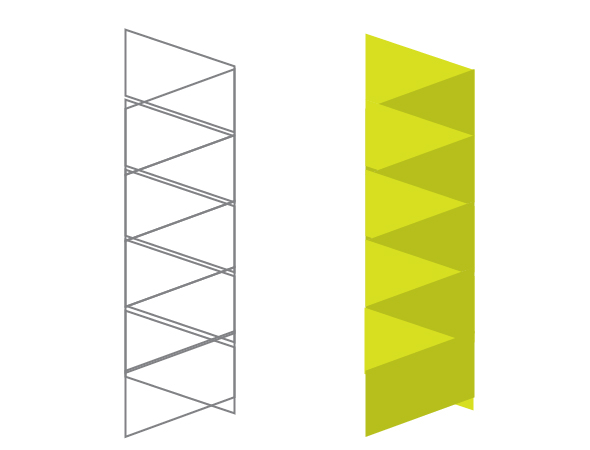
8. Create about 8-10 duplicates then select all of them and create a group. Place this group and the two little ellipses over the smaller rectangle. The hammer is almost ready.
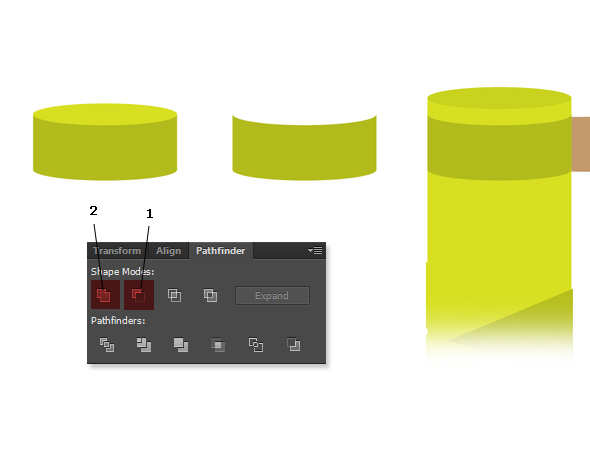
9. Create a rectangle (53 x 20 px), and two ellipses (you can duplicate the other ellipses, because they have the same size). Place one of the ellipses over the rectangle, then use the Minus Front option on the Pathfinder Panel. After this, select the remaining object and the other ellipse and use the Unite option. Place the resulted shape to its place.
10. Duplicate that shape and move it up, to the end of the handle, then fill it with a linear gradient from white to gray.
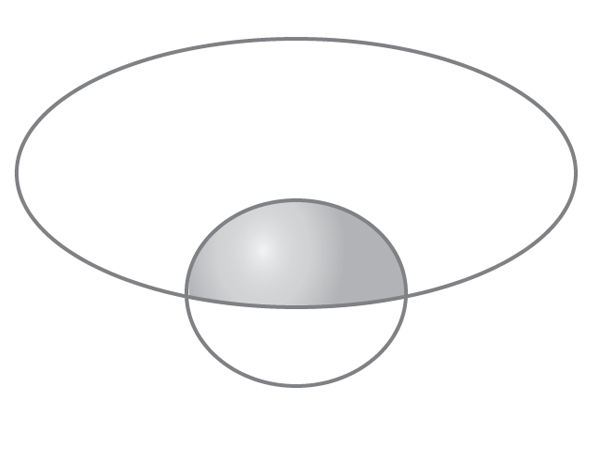
Create two intersecting ellipses and use the Intersect option from the Pathfinder Panel. Fill it with a Radial Gradient from white to gray. Place it over the end of the handle.
11. Now, that the hammer is ready, you have to fill with appropriate colors and make it more realistic.
12. Go back to the hammer’s head. It is still a 3d objects so you need to convert it to a group of 2 dimensional shapes. Go to Object -> Arrange ->Expand Appearance. Go to Object -> Ungroup.
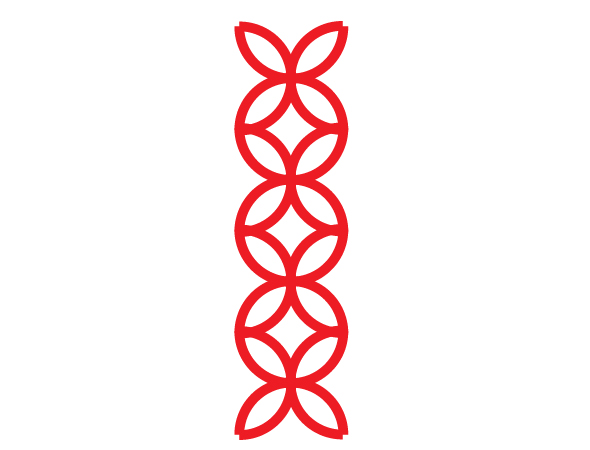
13. Let’s create the ornaments to the head of the Hammer. For this create a circle first. With the Direct Selection Tool select the top point and remove it. Duplicate the shape and rotate it with 90°. Duplicate again and rotate to the other direction… and again, and rotate with 180°. Select the four shapes place them into a group.
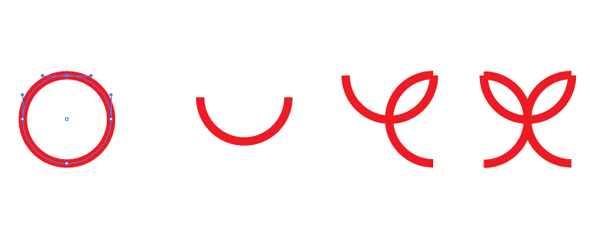
14. Duplicate the group four times, until you get this form. Select this form and Expand it then select Unite on the Pathfinder Panel.
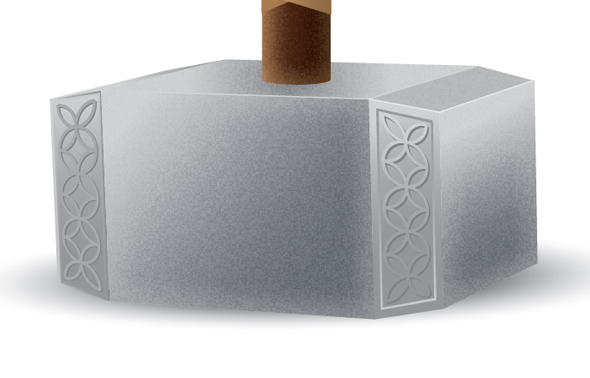
15. Place this shape over the hammer and resize it as needed. Modify the shape with the Free transform Tool (E) while pressing Ctrl. yes, there is another technique for this by placing the shape in the Symbols Panel and add to the 3D object, but I think this is easier for now.
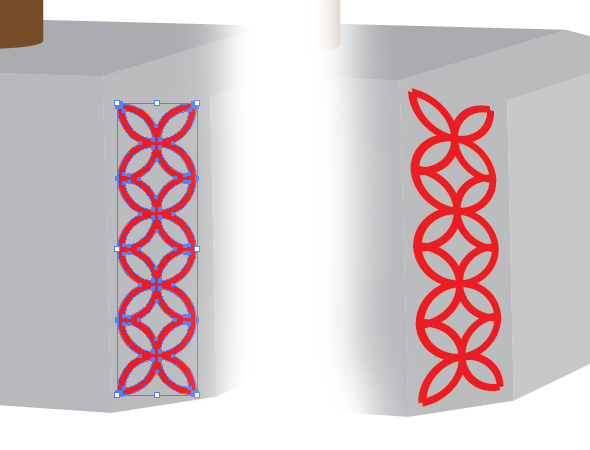
16. Double click to enter in the group, select the side where the ornament is duplicate it and make it smaller.Duplicate the small shape, duplicate it and make it even smaller. When you’ll add a gradient fill, it gives a 3d effect to the hammer’s head like it was carved.
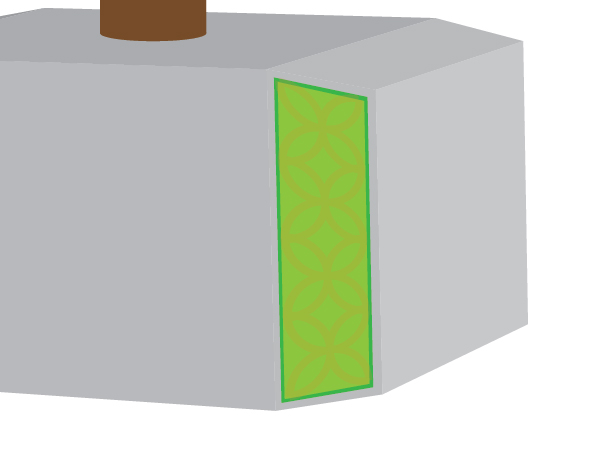
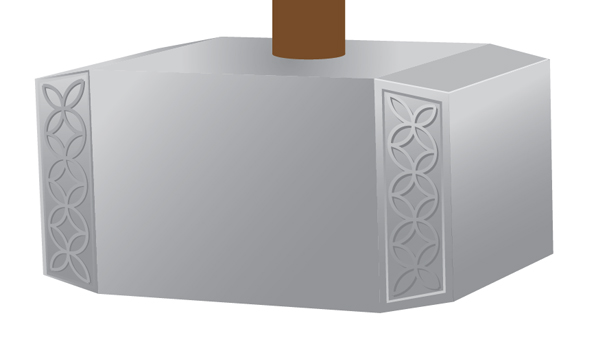
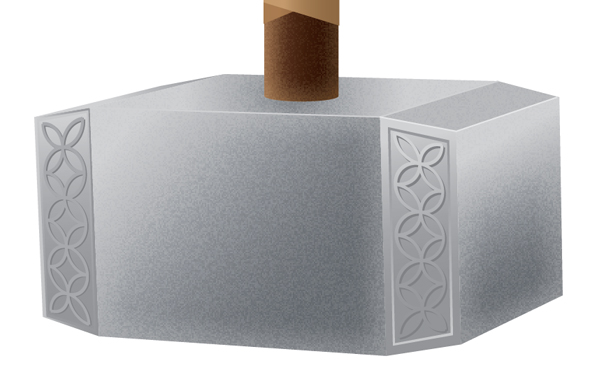
17. Repeat step 15-16 on the other part of the hammer. Next, fill all sides and the ornaments with a gradient fill from white to gray.
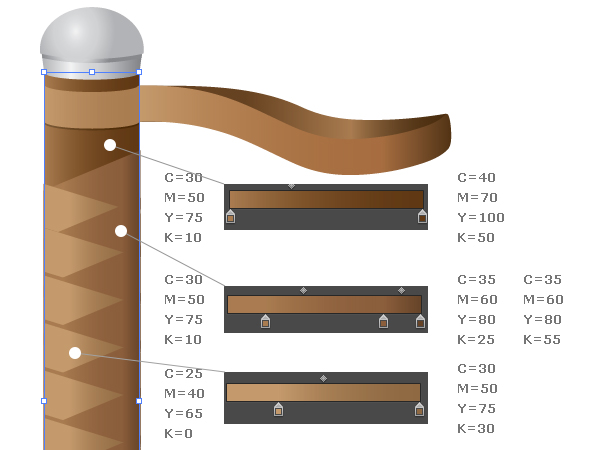
 18. Select the handle and fill it with a nice brown gradient. Fill the leather that wraps the handle.
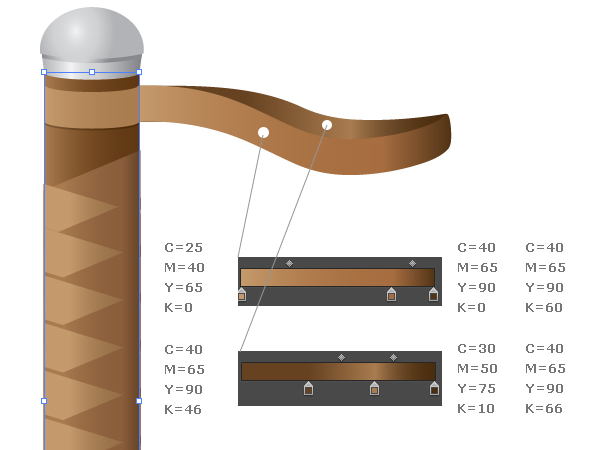
19. Don’t forget about the “looped lanyard”.
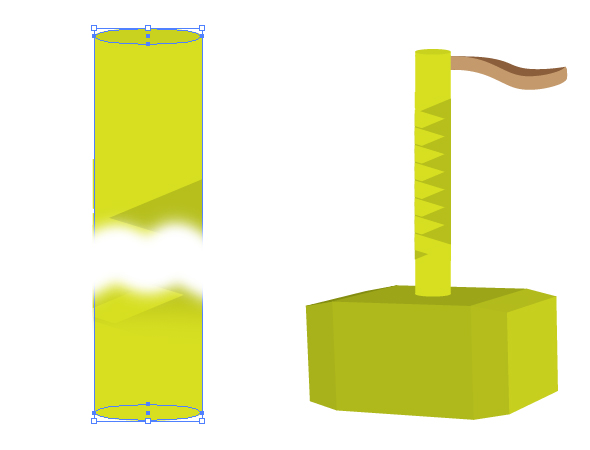
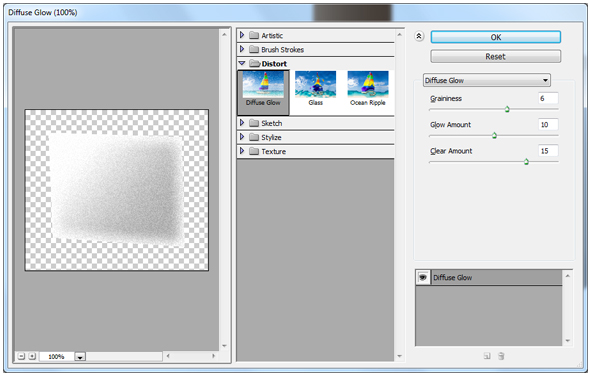
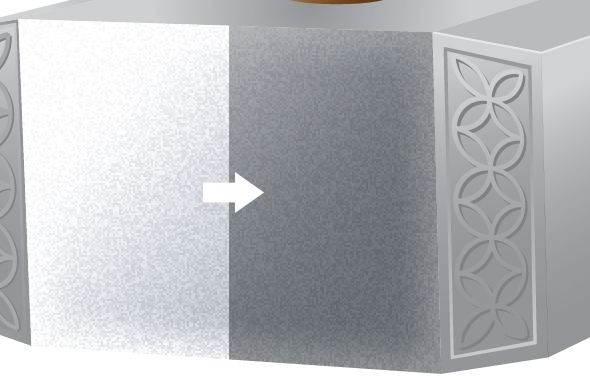
20. To give the hammer’s head a more realistic look you have to apply the Diffuse Glow effect from the Effect Panel. Select one side of the hammer, copy to the Clipboard, because you will need it later. While the shape still selected, go to Effect -> Distort -> Diffuse Glow. You can play with the values as you like, when you’re ready press OK.
 21. It looks nice, but because this is a bitmap object, it has very ugly edges.
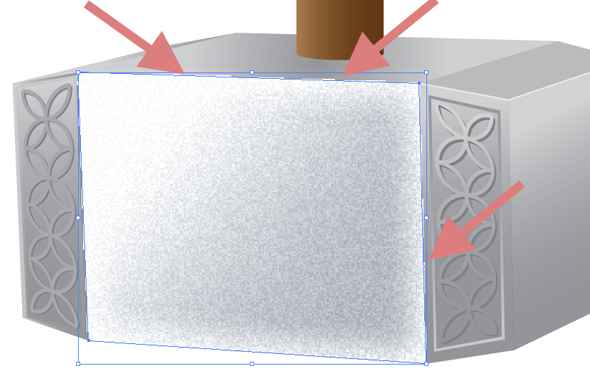
22. To hide them, put the shape from the Clipboard back to its place (Ctrl +F) then select both shapes, go to Object -> Clipping Mask -> Make. Press Ctrl + F again to insert another copy of the same shape, then change the Blending Mode to Multiply on the Transparency Panel.
23. Repeat these steps (20-22) on the other sides of the hammer and the handle too.
24. You just need to create a shadow below the hammer and you’re done!
Create a circle and fill it with radial gradient from dark gray to white.
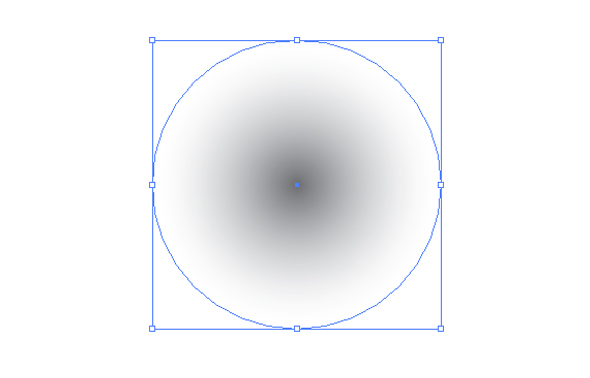
25. Select the circle and squeeze it to about 1/8 the original size. Place it behind the hammer. Resize the shape and change the gradient as needed. That’s it.
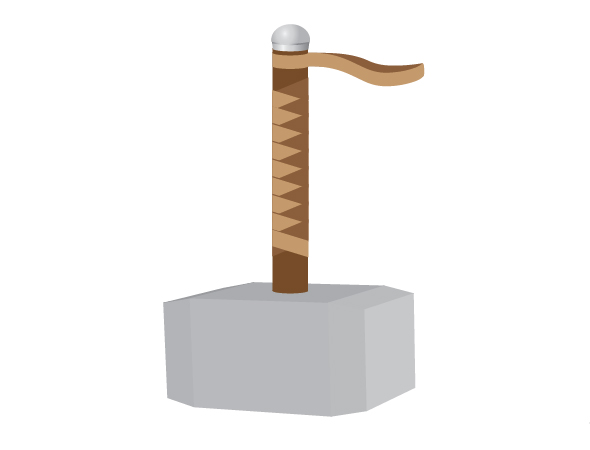
Final preview 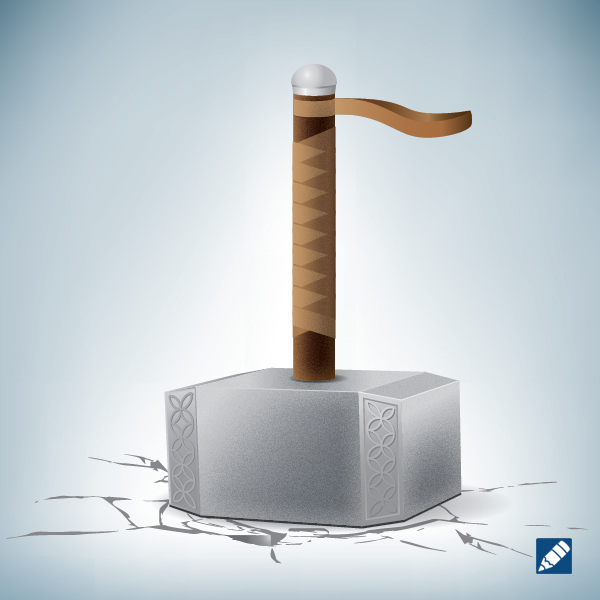
I hope you enjoyed reading the tutorial and you will use these techniques in your projects. If you need help with this tutorial, write your questions in comments. Thanks.