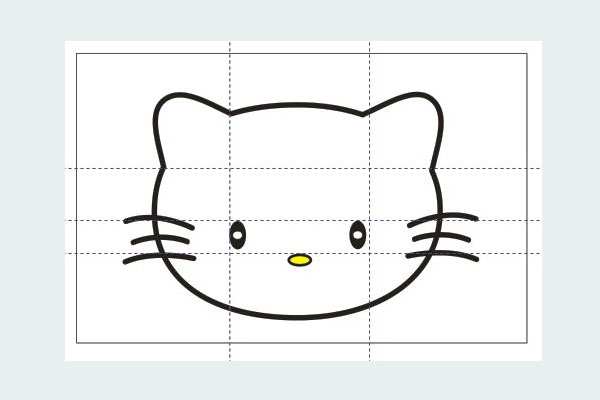
In the following Corel Draw tutorial (for beginners) I’m going to show you how to create the Hello Kitty character using basic CorelDRAW tools. Use the ellipse tool to make the Hello Kitty’s face, the polygon tool to create the ears and the flower using the distortion tool.
1. Create the Head With Ellipse Tool
Step 1
First, open CorelDraw and create a new blank document. Set the paper size to A4.
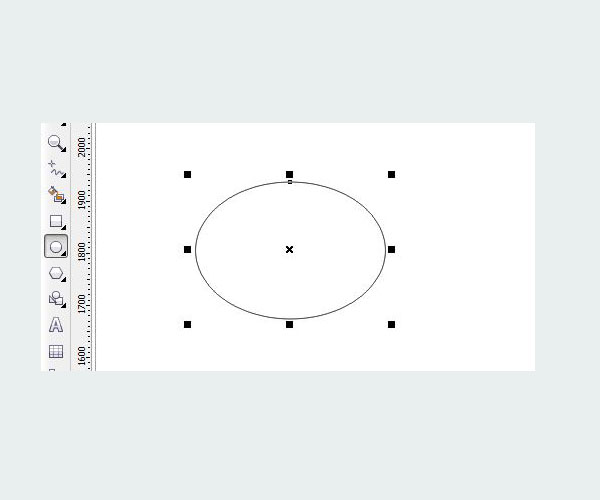
In the toolbox, pick the Ellipse Tool (F7) and draw a horizontal ellipse. Press and hold the Shift key then drag it as shown as below. Fill it with white color.
Step 2
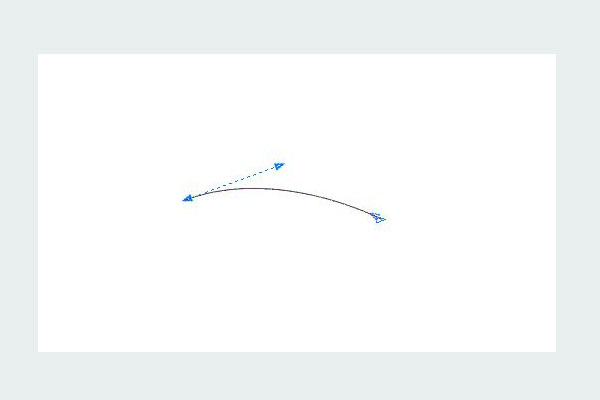
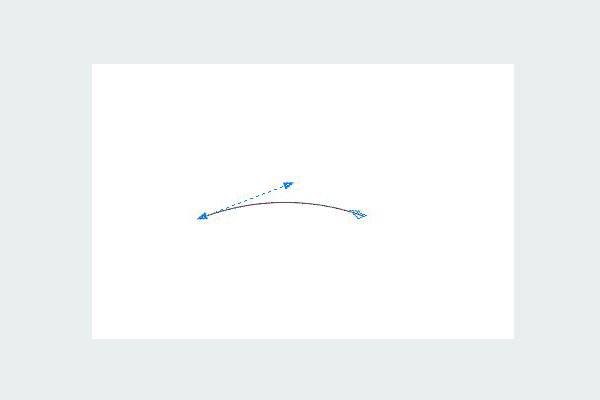
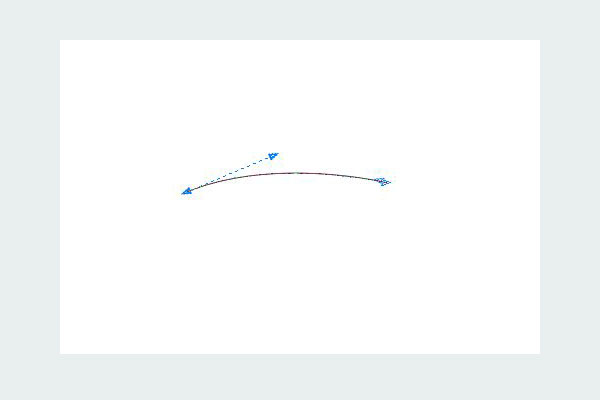
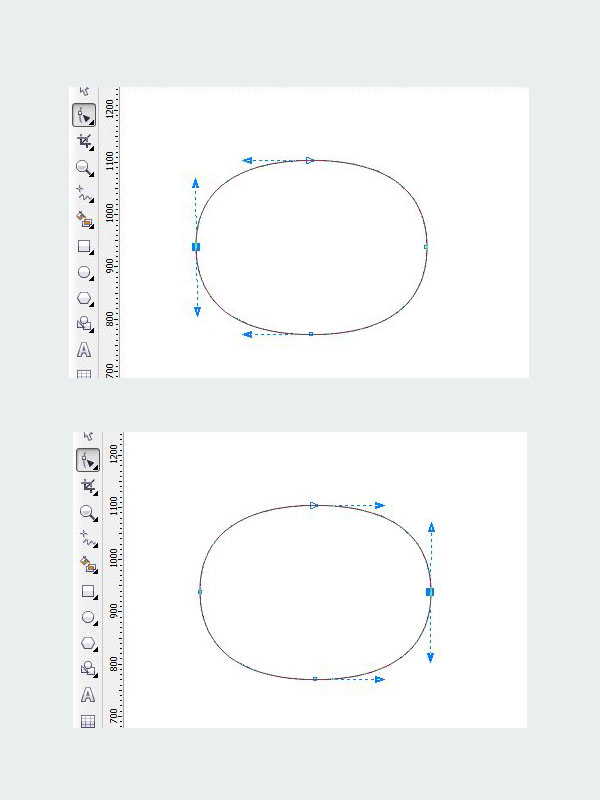
Go to the Shape Tool (F10). Make sure that the object is selected. Then click the Convert To Curve (Ctrl+Q) button on the property bar. You see the image below, click the left node and drag the handle to the top. The shape must be wider until it seems similar the Hello Kitty’s face. Do the same thing to the right node.
Step 3
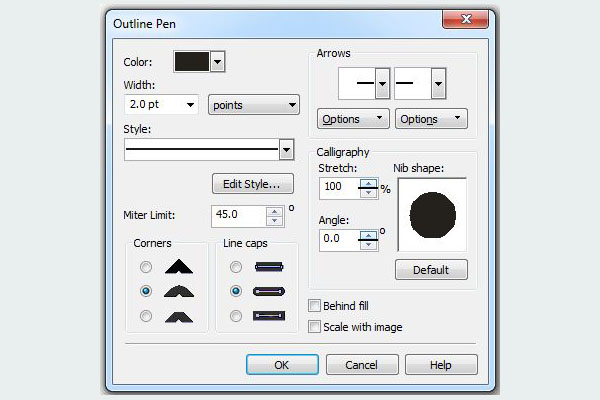
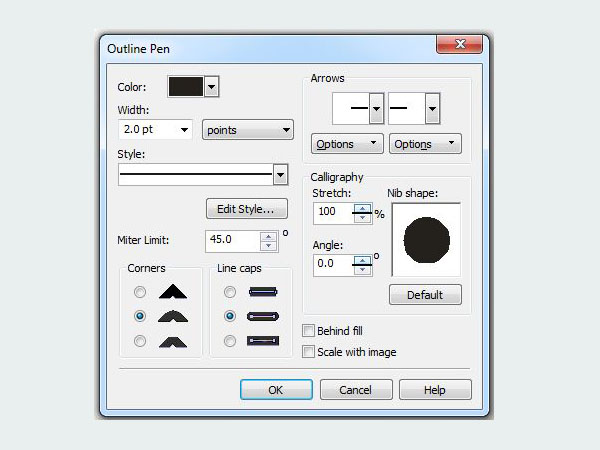
Open the Outline Pen (F12) flyout in the toolbox. Apply the value below.
2. Creating the Ears Using the Polygon Tool
Step 1
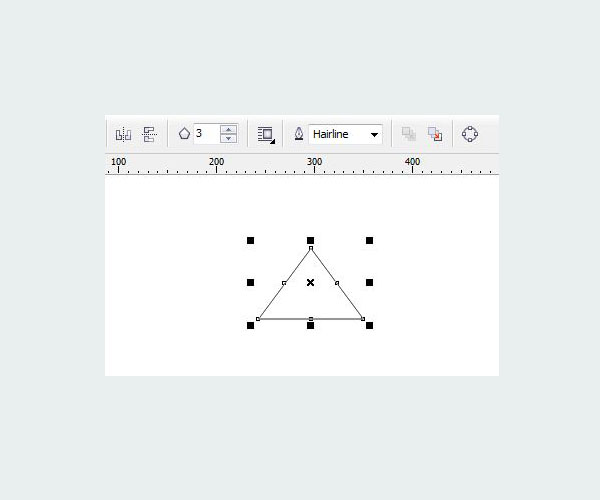
Now we going to make the ears. Select the Polygon Tool (Y), and draw a triangle. Set the side to 3. Fill the resulting shape with white color. After that choose Convert To Curve (Ctrl+Q).
Step 2
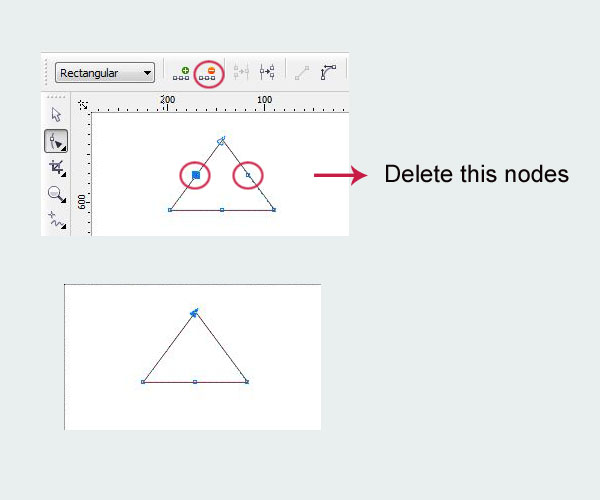
Pick the Shape Tool (F10), and click the node as shown below then choose the Delete Node (-) button on the property bar. Do the same to the other nodes (see below). I want to reduce the number of nodes.
Step 3
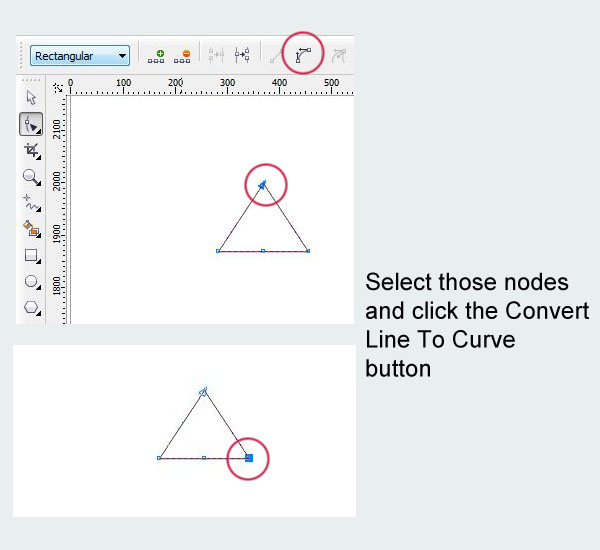
Click this node and select the Convert Line To Curve button on the property bar. The line must be converted to curve.
Step 4
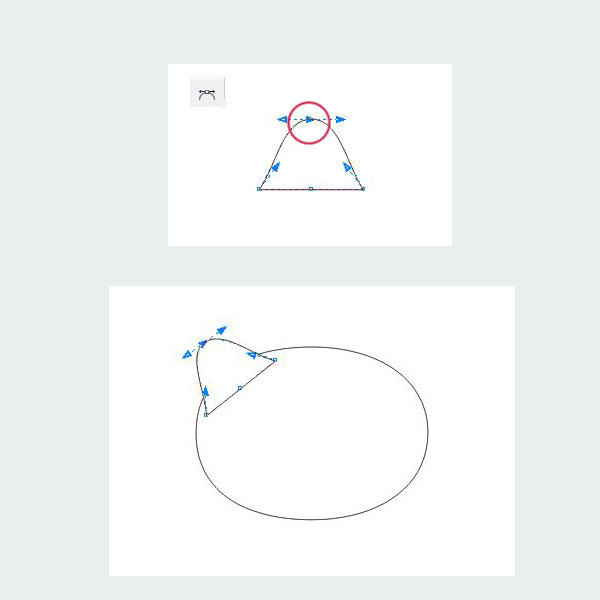
Now pick this node and choose the Make Node Symmetrical button. Then adjust the arrow to be like similar below. Select the object and rotate it using the Pick Tool as shown as below.
Step 5
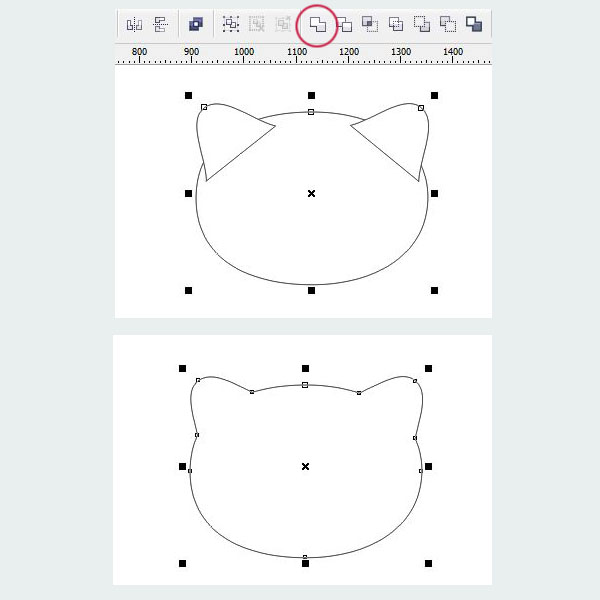
Ctrl+D to duplicate the ear. Move and rotate it using the Pick Tool on the other side. It should be like this. Using the Pick Tool, marquee select all objects. I want the objects join together (the face then the ears) with Weld button on the property bar.
Step 6
Open the Outline Pen (F12) panel.
3. Making the Eyes
Step 1
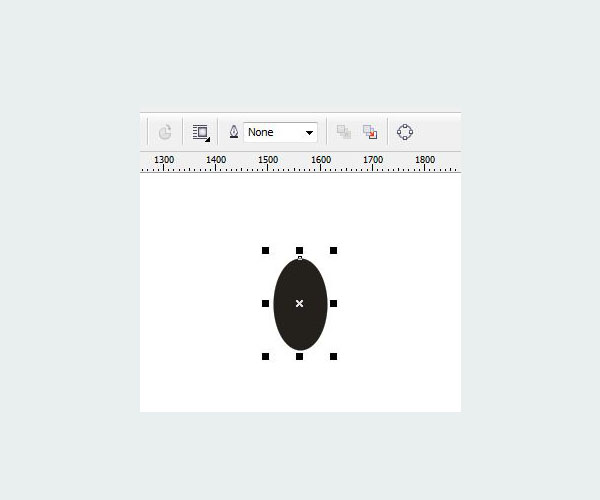
Take the Ellipse Tool (F7) to draw a small vertical ellipse. Press and hold Shift key, and start draging. Put black color it in.
Step 2
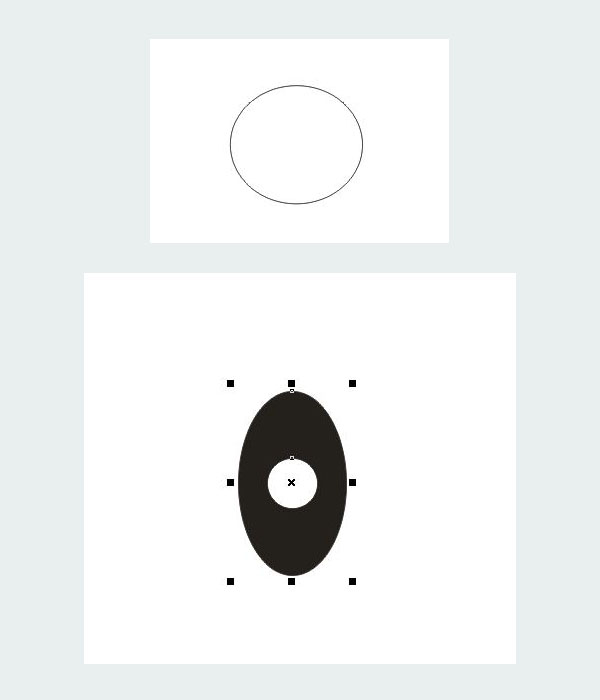
Draw a small circle using Ellipse Tool (F7) for the center of the shape we just draw. Fill it with white. Select all object using the Pick Tool then group them (Ctrl+G) and right-click on the white square at the top of Color Palette to delete the outline.
Step 3
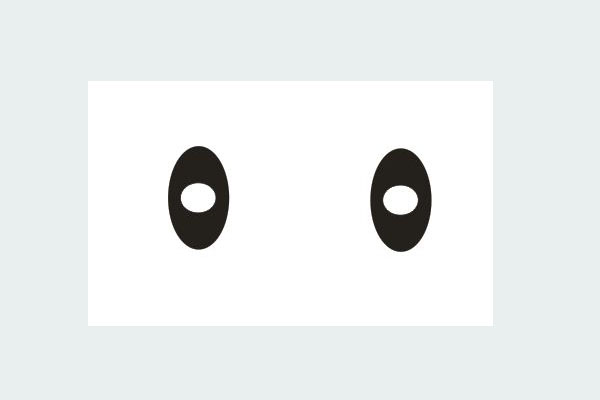
Ctrl+D to duplicated the eye we just created.
4. Making the Nose
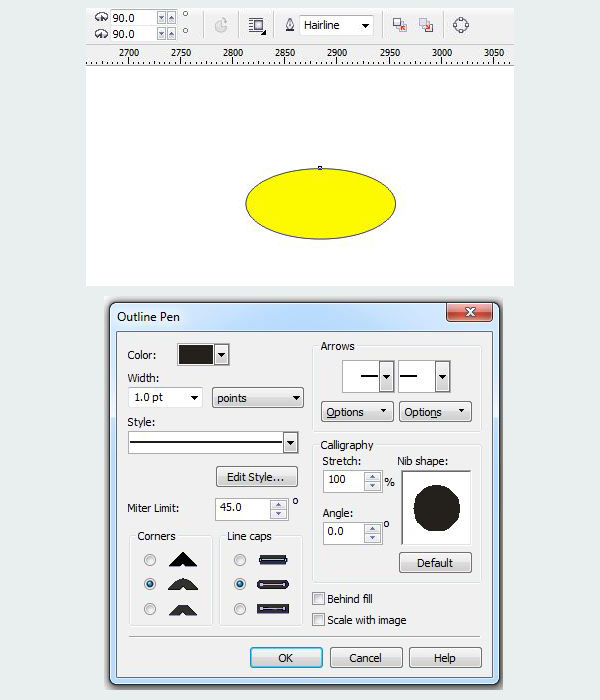
Draw a horizontal ellipse with Ellipse Tool (F7). Open the Outline Pen (F12) flyout with 1 pt width. And fill it with yellow color.
5. Creating the Mustache Using the Bezier Tool
Step 1
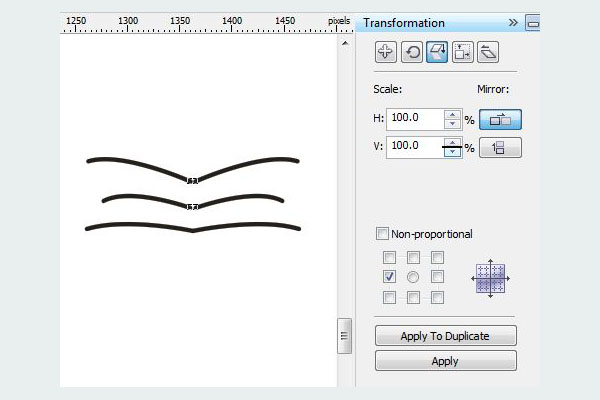
Now we use the Bezier Tool ( ) and create a shape for the mustaches. Pick the Shape Tool (F10) and click the Convert To Curve (Ctrl+Q) button on the property bar. Then arrange the handle as you want to look like a mustache.
Step 2
Duplicate the line (Ctrl+D) and resize to be smaller.
Step 3
Repeat the above steps.
Step 4
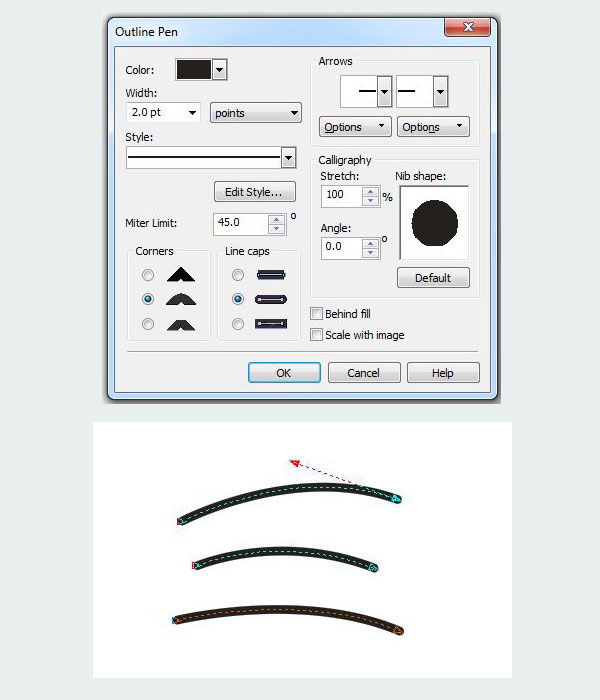
Select the three lines and group them (Ctrl+G). Select all objects (the outline face, eyes, mustache) and go to Arrange -> Convert Outline To Object (Ctrl+Shift+Q). Open the Outline Pen (F12) set the line width to 2 pt and apply the settings below.
Step 5
Go to Window – Docker – Tranformation Scale (Alt+F9).
6. Show the Guidelines
Go to View – Guidelines. I want to arrange the cat’s ears, nose and mustaches.
7. Draw A Flower
Step 1
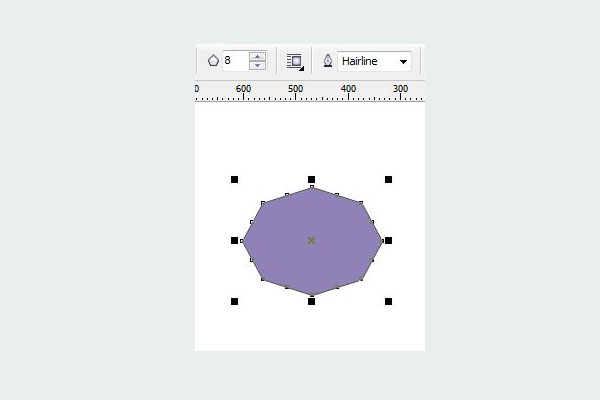
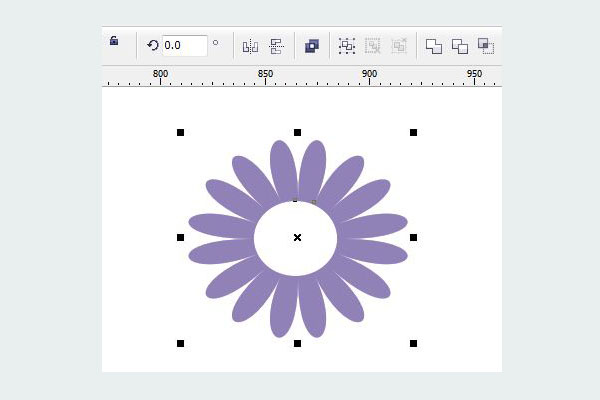
We are going to make a flower to place it to the left of the cat’s ears. Take the Polygon Tool (Y) on the toolbox. Drag it to the worksheet window. Fill the resulting shape with pastel blue color.
Step 2
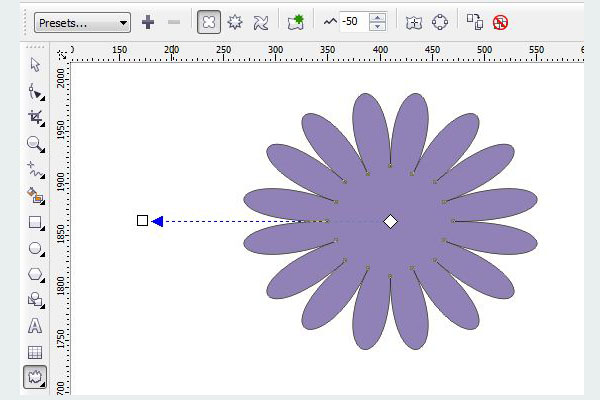
Open the Interactive Distortion Tool. From the drop-down list in the property bar, choose the Push-Pull 2. Set the value to -50.
Step 3
Click the Ellipse Tool (F7). Create a small circle and put it to the center of custom shape that we was made. Fill it with white color. Select the Pick Tool, select all objects and group it (Ctrl+G). Right-click on white square at the top of Color Palette to remove the outline.
8. Creating the Background
Step 1
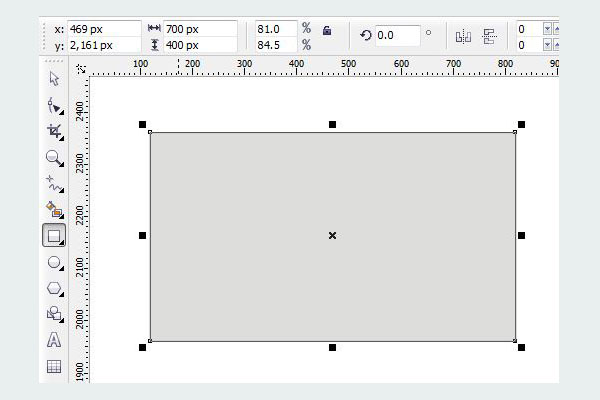
Create a rectangle using the Regtangle Tool (F6). Set the object size to 700 x 450 pixel on the property bar. Right-click on the white square at the top of Color Palette to remove the outline.
Step 2
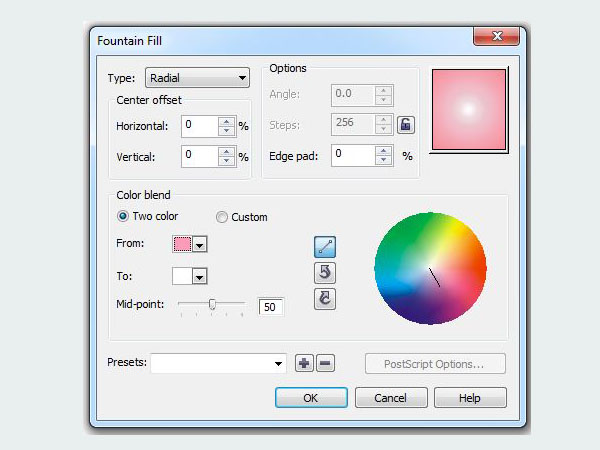
Now we going to fill the background. Open the Fountain Fill (F11) flyout. Choose a radial type, set the color from light violet to white and edge pad 0%.
Select the cat and go to Arrange – Order -To Front Of Page. Then select both objects and group them (Ctrl-G).
Conclusion
Well, you’re done. Now you see how can you create various complex shapes, using simple tools.

