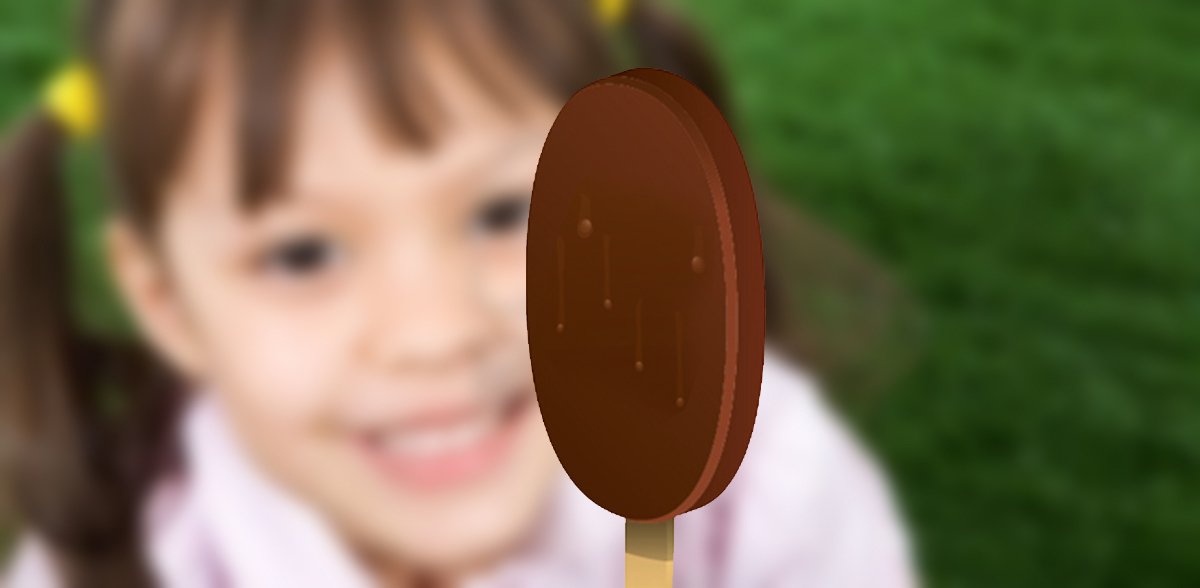
In this tutorial, you will learn how to create a tasty Chocolate Ice Cream in Adobe Illustrator. You will learn how to draw basic shapes, modify them in 3d and apply gradients for more realism.

1. Open a new document, i’m working with a 800x600px workspace with CMYK color mode. Select the Ellipse tool (L), and create an ellipse with these sizes: width = 240px, height = 380px. Next, select the Rounded Rectangle Tool and draw the second object with these sizes: width=40px, height=280px.
Hint: if you want to change the roundness of the object, press Up or Down keys while drawing the object.
 2. Select the ellipse, and with the Direct Selection Tool (A) select and drag (or move with the mouse) the anchor points as shown on the image.
3. Fill both objects with a color.
4. While both objects selected, go to Effects -> 3D -> Extrude & Bevel. Use the values shown below.

5. Select only the ice cream’s stick. On the Appearance panel select the 3D Extrude & Bevel property and double click on it. Now set the Extrude Depth to 10pt and set the Bevel to None.
6. While the stick is selected, go to Object -> Arrange -> Send to Back, or press Shift+Ctrl+[ keys. Now both objects are on the right place. Go to Object -> Expand Appearance, to get rid of the 3d properties. From now on you won’t be able to rotate, change the depth of the 3d object. You transformed the 3D objects into separate groups. Select all groups and go to Object -> Ungroup (Ctrl+Shift+G). Repeat this until everything is ungrouped.
7. Now select a shape and press Unite on the Pathfinder panel. The result will be a really simple shape with no Clipping Mask, nothing. Just a shape. Give it a color (no matter what), so you can identify it easier later. Repeat this step with every object.

8. Because we use a CMYK document, we don’t have the RGB color mode, we will work with 4 colors. On the image below, you can see the colors used. You can set these colors on the Gradient panel. Use Linear gradients.

9. To edit the gradients direction use the Gradient tool (G).

10. We need a little shadow under the ice cream, on the stick. Create an Ellipse (L) over the stick, and place it where you want to have the shadow. Select the stick’s surface, copy (Ctrl+C) and insert back over the original (Ctrl+F). While pressing Shift, select the ellipse you created and press Intersect them.

11. To place the shadow over the stick, you can use the Object -> Arrange -> Send Backward (Ctrl+[) option, or – and this is what i do – cut it (Ctrl+X), select the object where you want to put the shadow and press Ctrl+F. This method is easier, because you can do it in 3 seconds and the object is in his place immediately.

12. Color the shadow with a linear gradient from black to white, and with the Gradient Tool (G) set the direction from top to bottom.

13. On the Transparency panel set the blending mode to Multiply. So the shadow will have the transparency effect you need. Repeat the above steps for the other side of the stick.

14. You’re done!
You can enhance this further by creating the effect that a bite has been taken. For this you need to create four ellipses, unite them and use the Minus Front option from the Pathfinder panel, before you use the 3d extrude effect.
After this follow all steps from step 4.

Using these basic steps, with some little changes ( for example just by playing with different colors), you can create other tasty ice creams.
Download e-book with the editable vector files (ai, pdf).