After releasing the new iOS 7, app designers and developers needed to adjust their visual language to match the new design of iOS7. In addition to the grid system, the dimensions of icons and commonly used elements, typography and iconography has been updated by Apple in many ways.
Every app needs a beautiful, memorable app icon that attracts people in the App Store and stands out on their Home screen. iOS can use versions of the app icon in Game Center, Search results, Settings, and to represent app-created documents.
Here on Vectorgraphit we will share a weekly a new tutorial on how to create one of the new iOS 7 flat icons in Adobe Illustrator. Remember, these tutorials are featuring some Adobe Illustrator technics, some changes may apply. If you want to create iOS 7 icons, you can read more about the Interface Guidelines here.
In the following weeks you will learn to create these iOS7 icons:
| #01 – Photos icon #02 – Videos icon #03 – Safari icon #04 – Weather icon |
#05 – Calculator icon #06 – Compass icon #07 – Phone icon #08 – FaceTime icon |
To start, download the grid we created. The file is an EPS file so you can use in other vector editing software too. You don’t need to use this grid but we want to create icons like the originals, so this is the easiest way to do it.
1. Now that you have the grid, insert to a new layer and lock the layer. Make sure that the layer with the grid is on top of the other layers (see image in step 2).
2. Create a square with the Rectangle Tool (M) while holding the Shift key. Set its size to 120px (width and height). Place the square bellow the grid.
![]()
3. Go to Effect -> Stylize -> Round Corners and set the Radius to 27°.
![]()
4. Create a rectangle with the Rectangle Tool (M) with these sizes: width: 34px and height:49px. Go to Round Corners and set the Angle to 16°.
![]()
5. Select both objects and align them Horizontally on the Window -> Align Panel. The upper side of the object must be aligned with the top horizontal line of the grid. Duplicate the second object (Ctrl + C, Ctrl + F) and move the copy down to reach the bottom horizontal line of the grid. Select the two objects and group them together.
![]()
6. Go to Effect -> Distort & Transform -> Transform. Use the settings as you see on the image below.
![]()
7. Go to Object -> Expand Appearance then press the Right Mouse button and Ungroup. Repeat this step again to separate all objects. On the Window -> Transparency Panel set the Blending Mode to Multiply.
![]()
8. Now you can fill all objects with appropriate color.
![]()
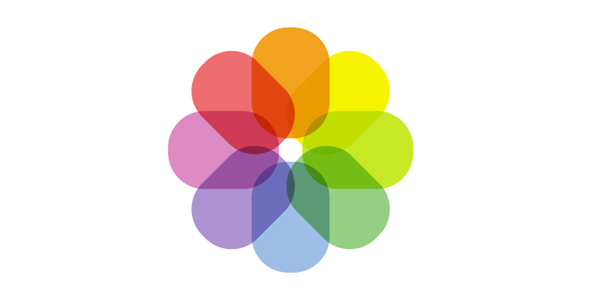
9. That’s it, you’re done! Of course you can fill the flower with gradient colors to make it more similar to the original, but there is already a tutorial that shows you how to do that, which can be read on VectorTuts.
![]()
I hope you enjoyed this tutorial. Feel free to return for the next iOS7 icon tutorial!