
On this hot day we have a refreshing quick tip for you. Following this short Adobe Illustrator tutorial you can learn how to create a simple Snowflake, using only the Line Tool. Using the same technique, you can create various Snowflakes in minutes.
Let’s start by creating a simple vertical line with the Line Tool (\).


Create two new lines and place it to the top side of the vertical line.

When you’re done, duplicate the small lines (Ctrl + C, Ctrl + V) rotate and place them to the bottom side of the vertical line.

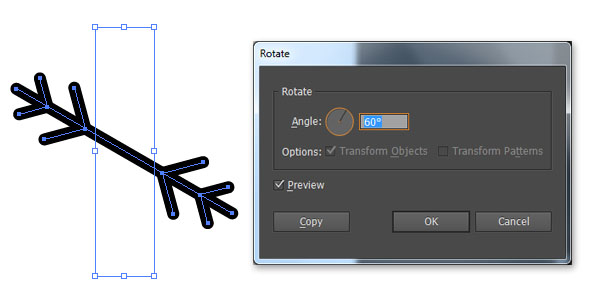
Select all lines, go to Object -> Transform -> Rotate. Set the Angle to 60° and press Copy. Select the resulted objects and repeat this step with the same values.
Select all lines go to Object -> Expand, be sure to select the Fill and Stroke and press OK. Go to Window -> Pathfinder and select Unite to merge all the objects.

That’s it! Use this technique to create various snowflakes.