If you want to learn Adobe Illustrator, this step-by-step Halloween Pumpkin tutorial is the right place for you to start. Following this tutorial, you will learn to create a simple Halloween Pumpkin Icon with the Basic Tools, the Pen Tool, the Pathfinder Panel, and Gradients.
Step 1
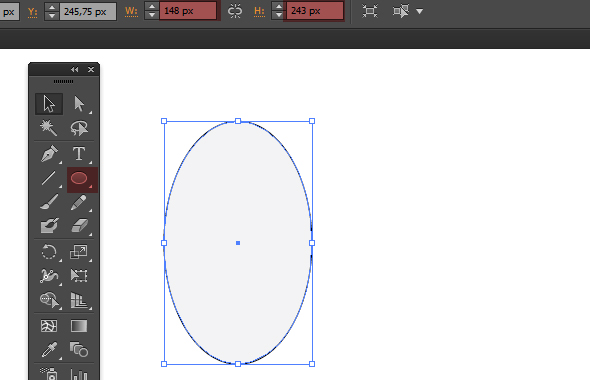
Create a new document with a 600x600px workspace with CMYK Color Mode. Create an Ellipse with the Ellipse Tool (L) and set its size to 148 x 243px.
Step 2
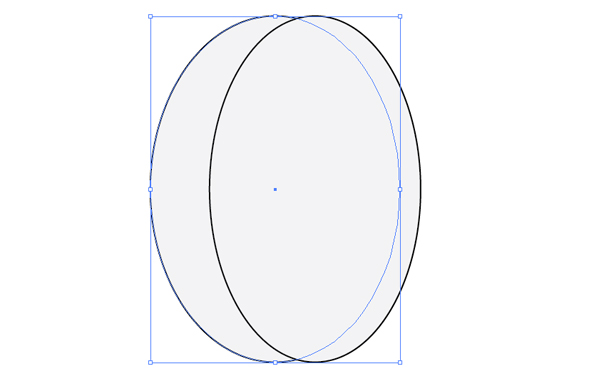
Duplicate the ellipse by copying then pasting in back (Ctrl + C, Ctrl + B). Change the new shape width from 148px to 175px then move to the left with the arrow keys.
Step 3
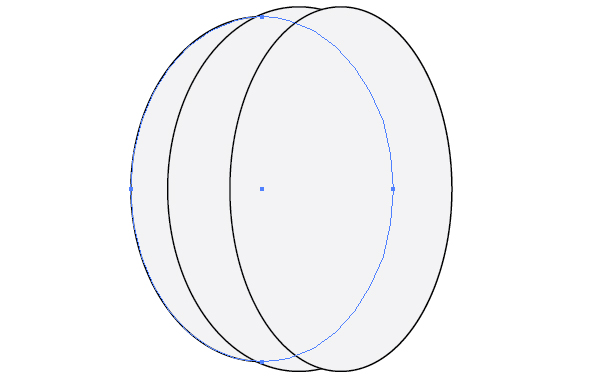
Duplicate the second shape, change the new shape’s height to 230px and move it to the left again.
Step 4
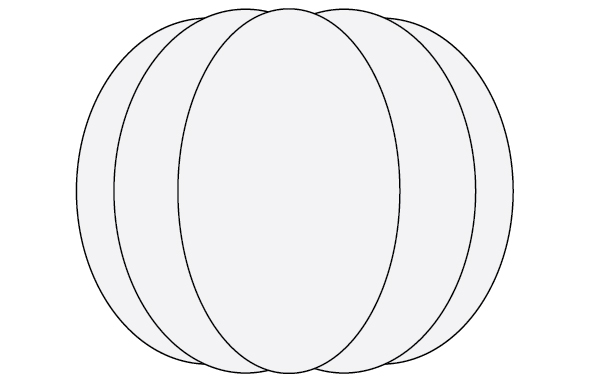
You can repeat the steps above and move the new shapes to the right, but it is easier if you just duplicate (Ctrl + C, Ctrl + F) the two new shapes and place them to the right side of the original ellipse. You have created a Pumpkin 🙂
Step 5
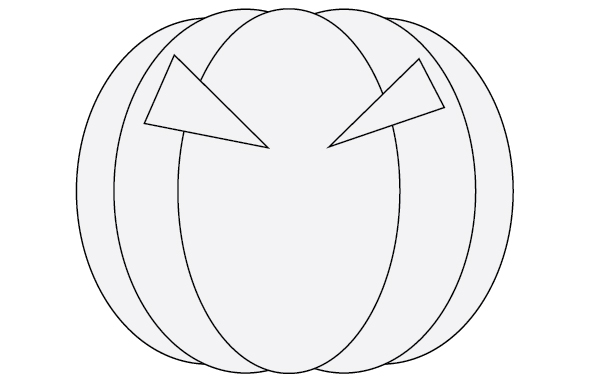
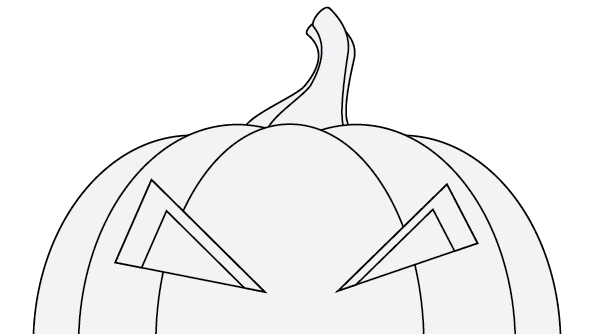
Draw two triangles with the Pen Tool by placing their endpoints as you want. These will be the eyes of your Halloween Pumpkin. You don’t have to make them symmetrical.
Step 6
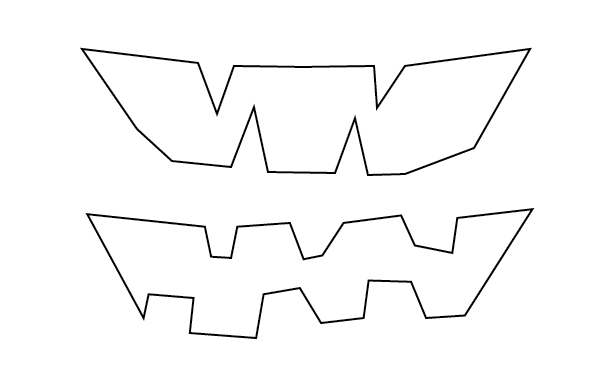
Now draw the mouth of the Pumpkin with the Pen Tool. There are no rules on how to draw, just be creative!
Step 7
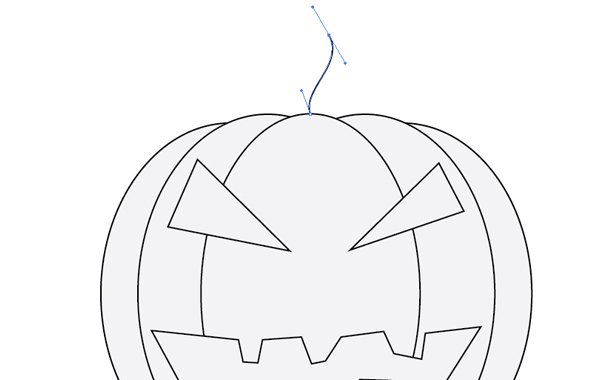
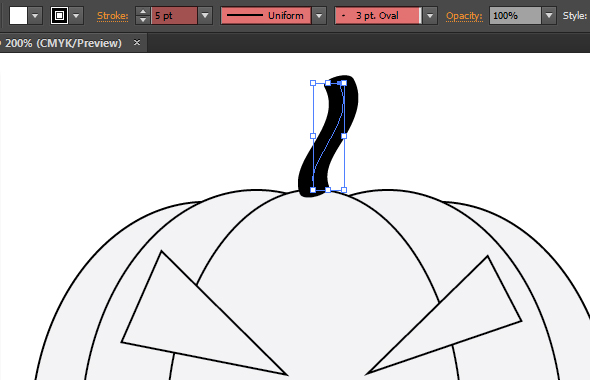
You’re done with the face. Let’s finish the stem on the top of the pumpkin. Create a curved line with the Pen Tool.
Step 8
Set the line’s properties as you see in the image below. Go to Object -> Expand Appearance then press Unite on the Window -> Pathfinder Panel.
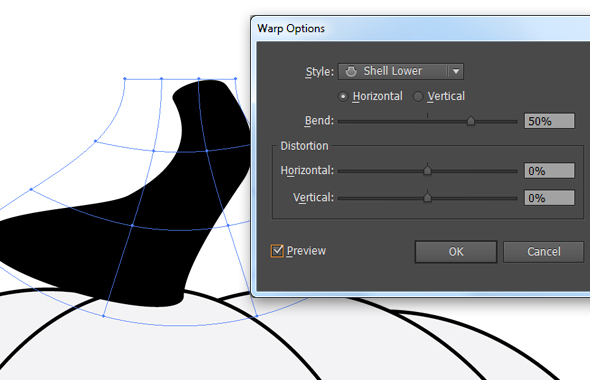
Step 9
Go to Object -> Envelope Distort -> Make with Warp. In the Warp Options window set the style to Shell Lower and use the settings as you see on the next image.
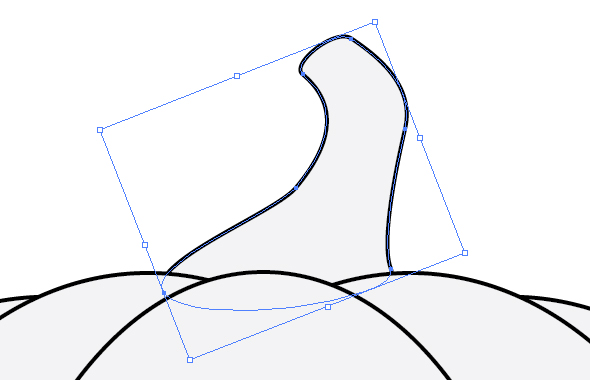
Step 10
Go to Object -> Expand select the Object and Fill options then press OK. Position the stem and rotate as needed and send it behind the pumpkin (Ctrl + Shift + [ ). Fill it with a color. Go to Object -> Transform -> Reset Bounding Box.
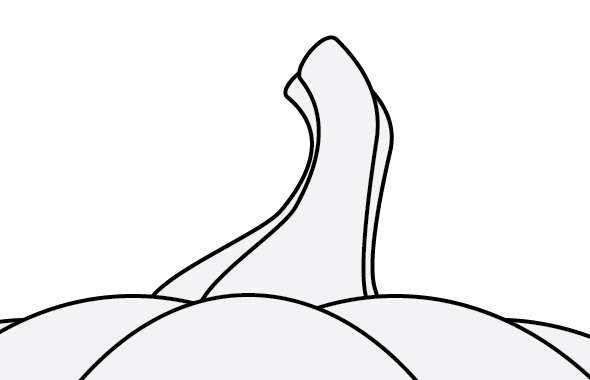
Step 11
Duplicate (Ctrl + C, Ctrl + F) the stem and modify the new shape’s width and height.
Step 12
Back to the eyes. Select the left eye, duplicate (Ctrl + C, Ctrl + F) it and move it down and to the right. Don’t forget, that the original shape is still on the Clipboard. You will need that later. Now select the original and the duplicated shapes and select the Minus Front option on the Pathfinder Panel.
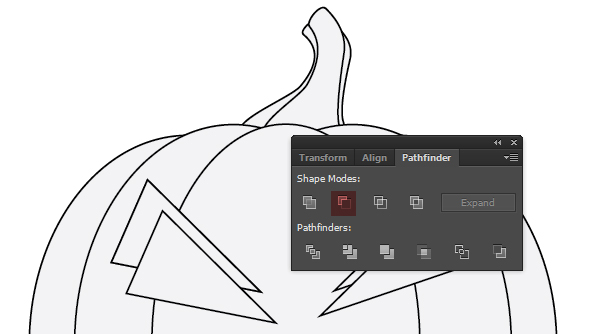
Step 13
Select the resulted shape and place the original one from the Clipboard behind it (Ctrl + B). Repeat these steps with the right eye too, but move it in the other direction.
Step 14
Repeat the 12, 13 steps with the mouth and move the duplicated shape upward. I filled the new shapes with another color to see the real effect.
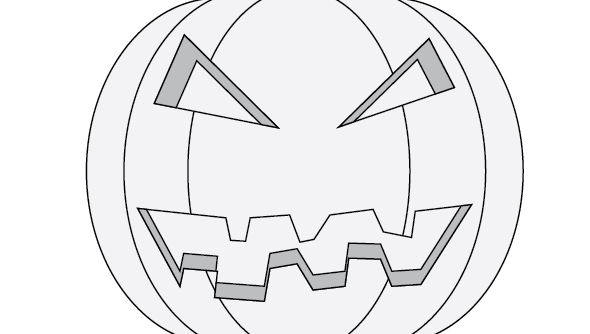
You should get something like this:
Step 15
As usual, the color is the most important so you are going to fill the pumpkin with bright gradient colors. First fill all the shapes with color, to see how is it going to look like.
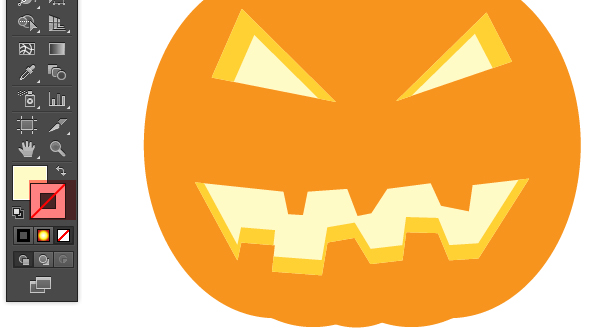
Step 16
Select all the shapes and remove the outlines.
Step 17
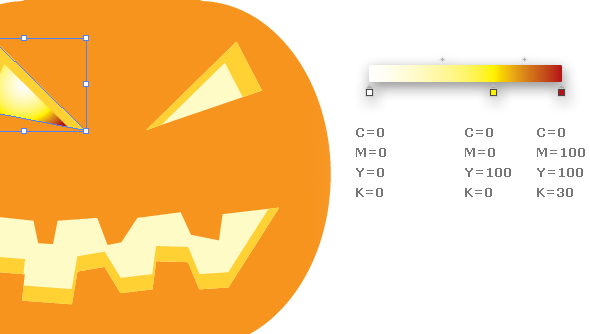
Let’s start with the interior of the Pumpkin (eyes + mouth). Fill it with a gradient from white to yellow/red. After you colored the left eye, select the other and while pressing the Shift key to select the mouth too. Copy the color from the left eye with the Eyedropper Tool (I). Now all three shapes have a gradient.

Step 18
Select all the three shapes, and edit the gradient’s place and center point with the Gradient Tool (G). Now you have the needed effect.
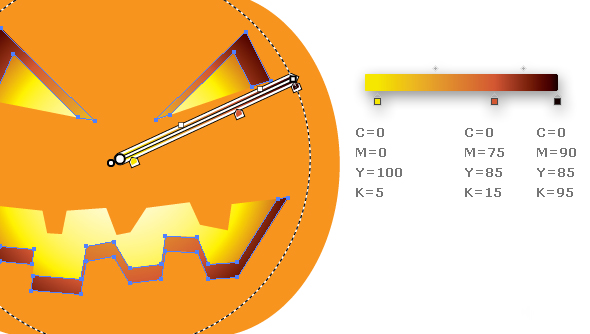
Step 19
You need the same steps and tools to color the middle part…
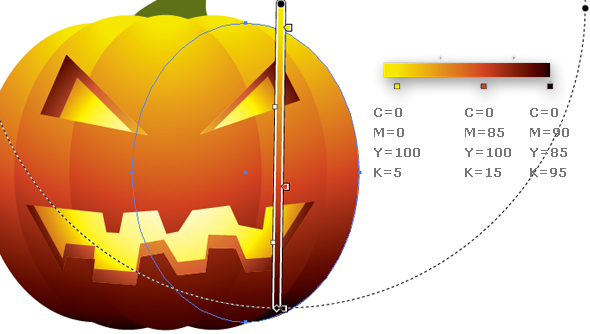
Step 22
… and the exterior of the Pumpkin. Change the gradient’s position and center point on all the shapes to achieve a nice 3D-like effect.
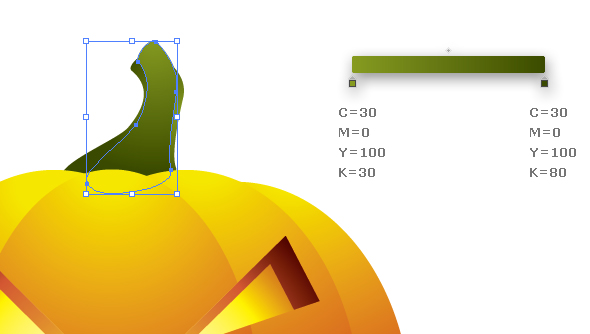
Step 21
Finally, fill the stem with a gradient from light green to dark green.
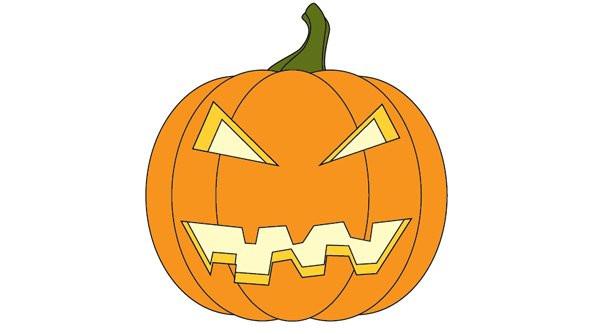
Step 22
That’s all, the Halloween Pumpkin Icon is ready to use in your new Halloween projects!
For the final preview, I duplicated some of the “slices” and moved a few pixels + added a shadow.
Final preview

I hope that you’ve enjoyed this tutorial and learned some new tricks. If you have any questions related to this tutorial, write them in comments or drop us an email. Thanks.