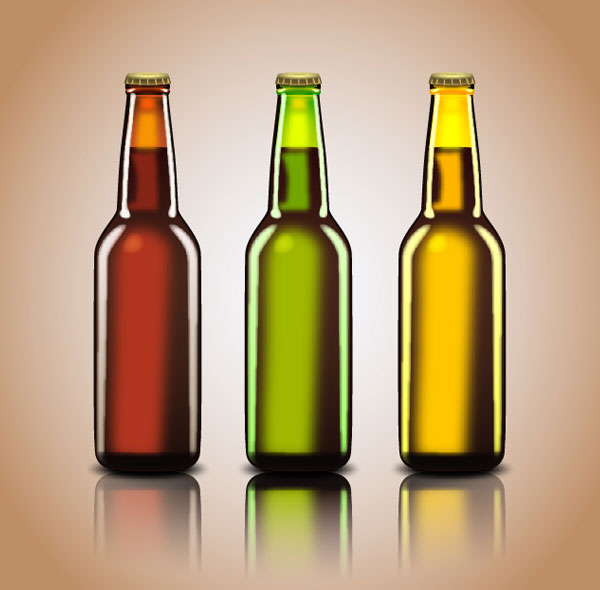
In this tutorial, I’ll show you how to create three glass beer bottles in Adobe Illustrator. We’ll use some simple shapes and tools that you would normally use on a daily basis to achieve the final result. Hopefully, you will learn some handy tips along the way. Let’s get started!
Create a New Document
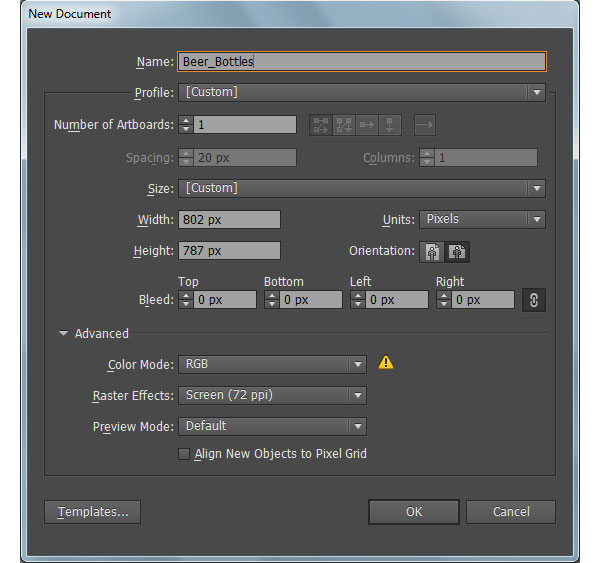
- Launch Adobe Illustrator and then press (Ctrl + N) to create a New document. Select Pixels from the Units drop-down menu, enter 802 in the width box and 787 in the height box then click on the Advanced button. Select RGB, Screen (72ppi) and make sure that the Align New Objects to Pixel Grid box is unchecked before you click OK
Create the Dark Red Beer Bottle
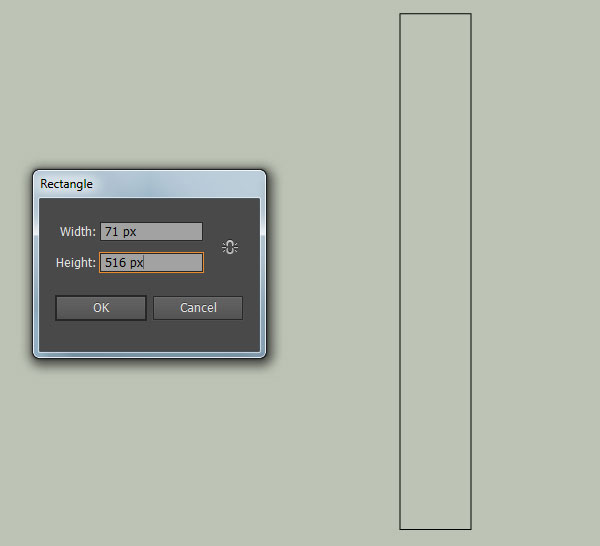
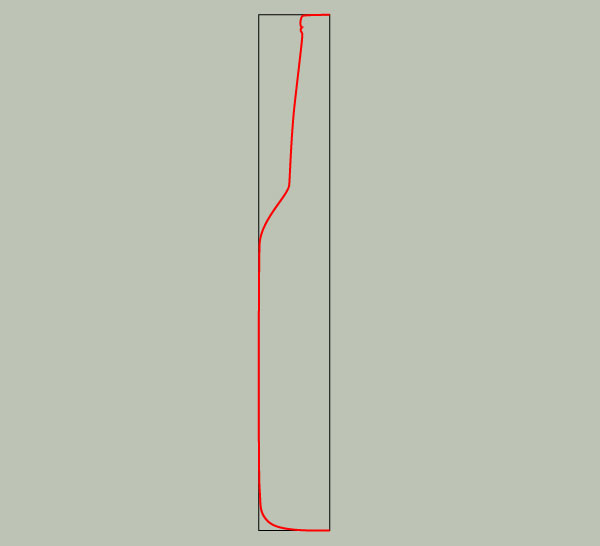
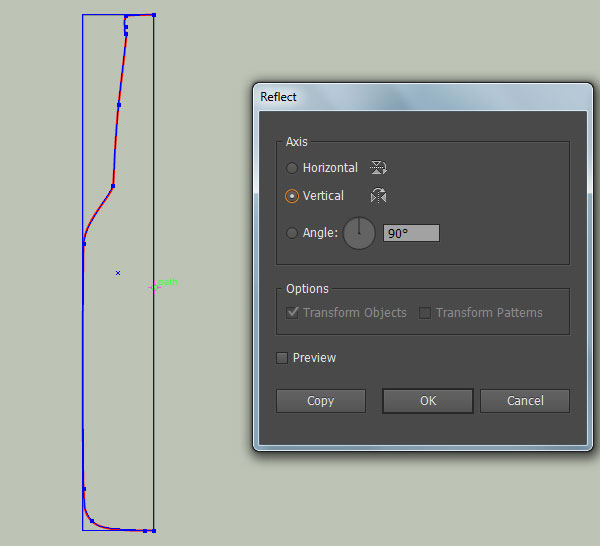
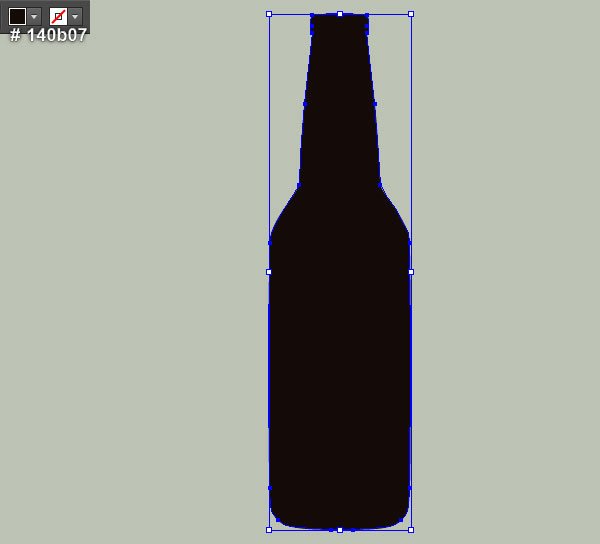
- Pick the Rectangle Tool (M) and create a 71 by 516px black rectangle. Next with the Pen Tool (P), create a red curved path like you see in the second image. Now reselect the newly created path, pick the Reflect Tool (O), then hold down Alt and click on the right side of the black rectangle. In the Reflect dialog box, check the Vertical and click Copy. Next select and remove the black rectangle created in this step.
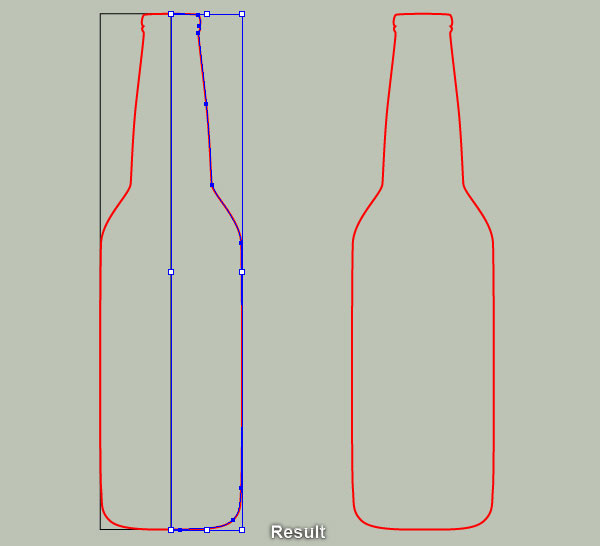
3. Select the two red curved paths created in step 2, right click on the artboard and then select the Join section from the drop-down menu. Next right click on the artboard again, then select the Join section. Now reselect the red object created in this step, remove its stroke and fill this object with very dark orange (#140b07).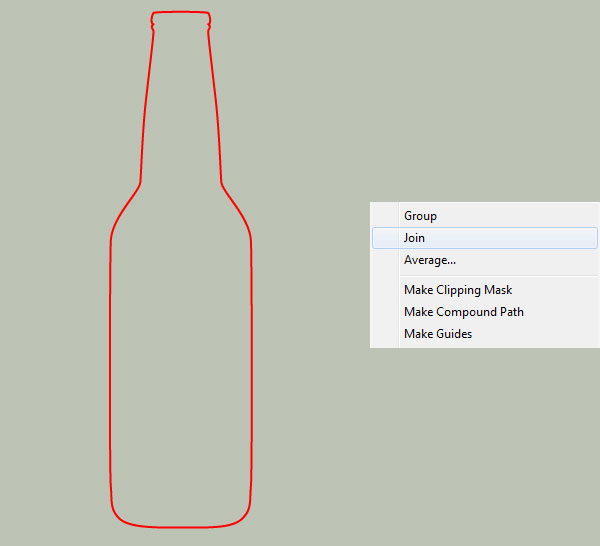
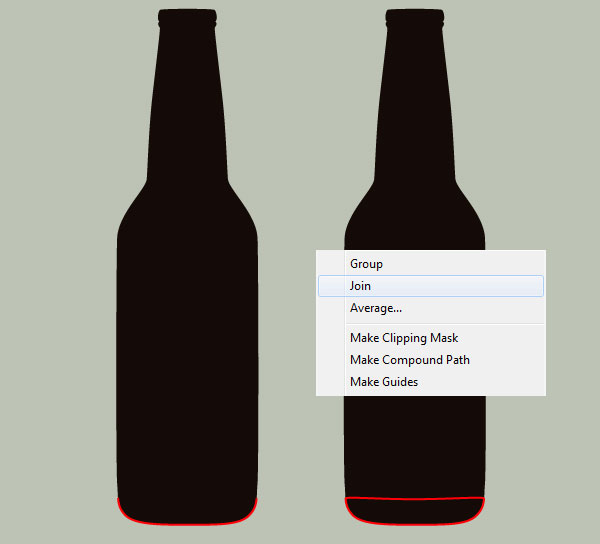
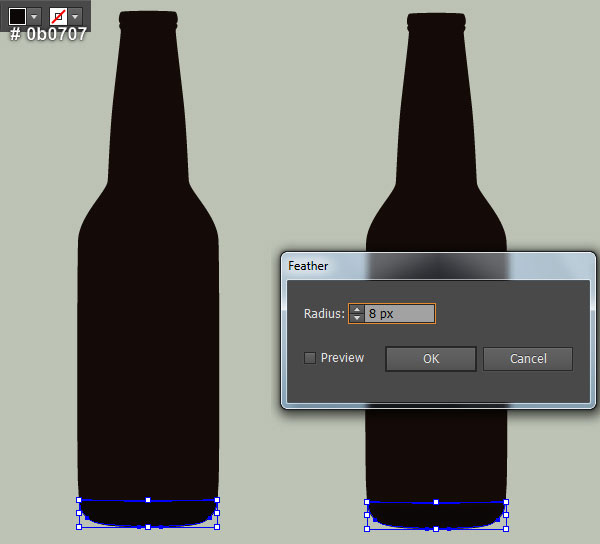
4. Select the very dark orange shape created in step 3 and make a copy (Ctrl +C, Ctrl +F) of it. Keep the copy selected, swap the fill and stroke colors by clicking the bent double-headed arrow next to the Fill and Stroke color swatches in the Toolbox. Next replace the existing stroke color of the resulting object with red. Now pick the Add Anchor Point Tool (+) and click on two points highlighted with green. Next reselect the two newly added anchor points and click on the “Cut path at selected anchor points” icon from the Properties bar. This make the red object becomes two paths. Select and remove the upper path. Then select the remaining red path, right click on the artboard and then select the Join section from the drop-down menu. Still having the resulting object selected, remove its stroke and fill this object with very dark red (#0b0707). Keep the resulting shape selected and go to the Effect > Stylize > Feather… Enter a 8px Radius and click OK.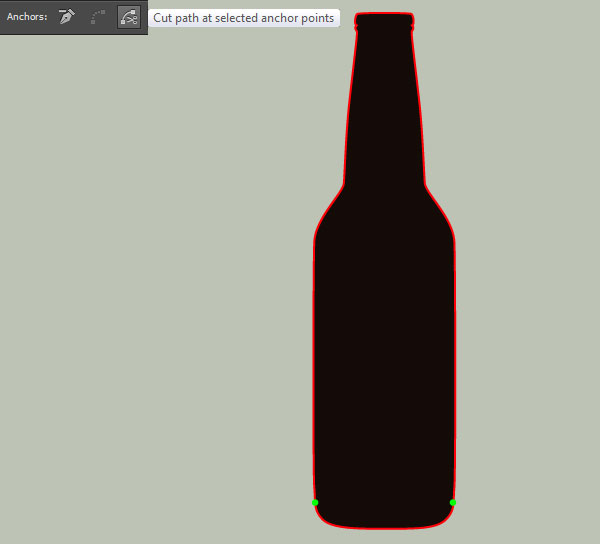
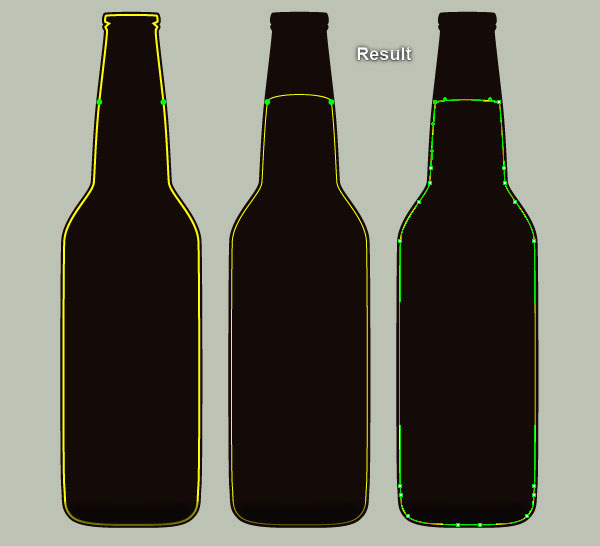
5. Select the very dark orange shape created in step 3 and go to the Object > Path > Offset Path… Enter a -3px Offset and click OK. Keep the resulting shape selected, swap the fill and stroke colors by clicking the bent double-headed arrow next to the Fill and Stroke color swatches in the Toolbox. Next replace the existing stroke color of the resulting object with yellow. Focus on the second image, pick the Add Anchor Point Tool (+) and click on two points highlighted with green.
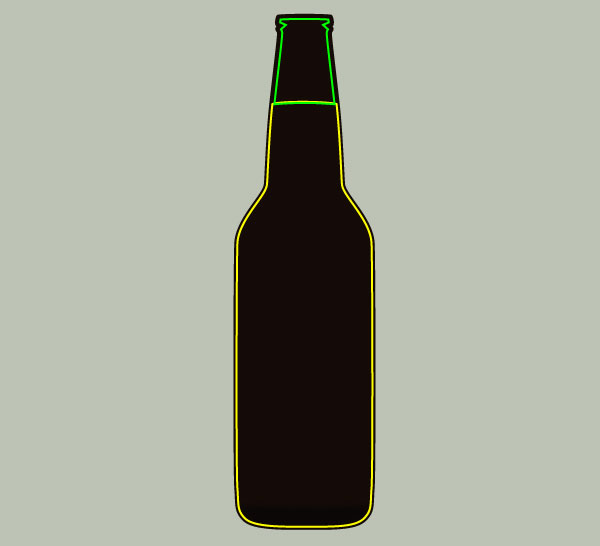
Next with the help of the Direct Selection Tool (A), select and remove all points located above the two anchor points highlighted with green. Now pick the Convert Anchor Point Tool (Shift +C), select two upper handles of two anchor points highlighted with green and move them down. The resulting object should look like the next to last image below. Continue with the Pen Tool (P), create a green object like you see in the last image.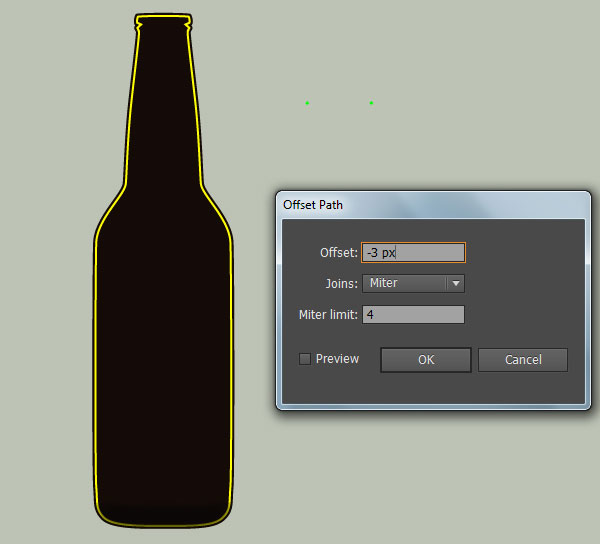
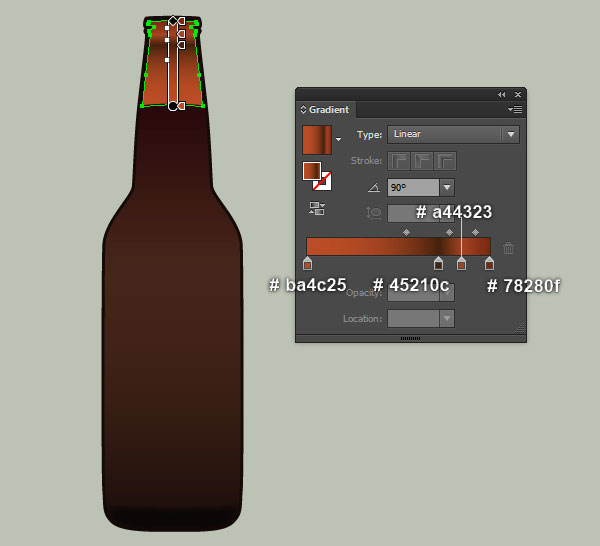
6. Select the yellow object created in step 5, remove its stroke and fill this object with the linear gradient like you see in the first image. Next select the green object created in step 5, remove its stroke and fill this object with the linear gradient as shown in the second image.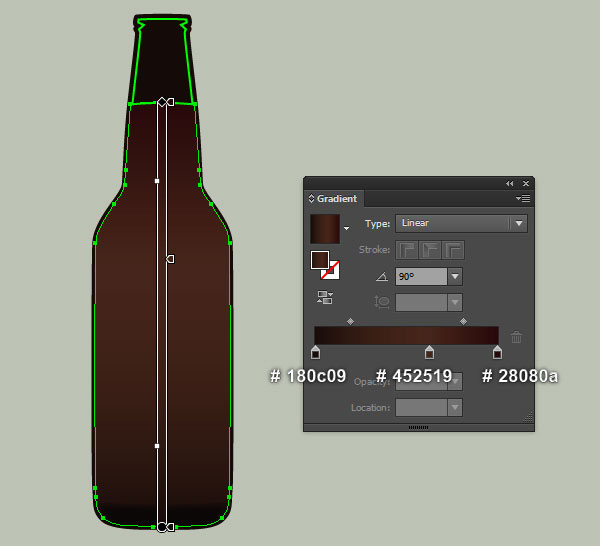
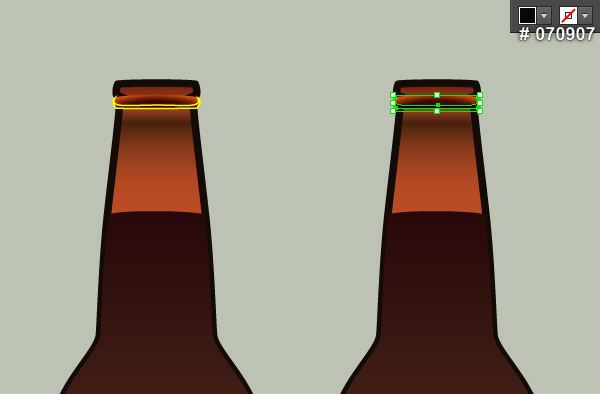
7. With the help of the Pen Tool (P) and the Gradient Tool (G), create a shape like you see in the first and the second image. Next pick the Pen Tool (P) and create a yellow object as shown in the third image.
Once your object is drawn, remove its stroke and then fill this object with very dark lime green (#070907).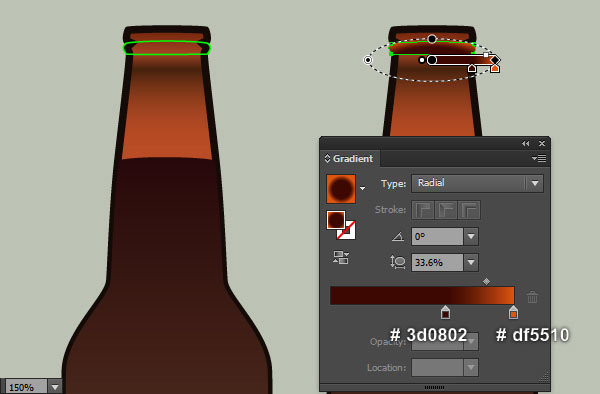
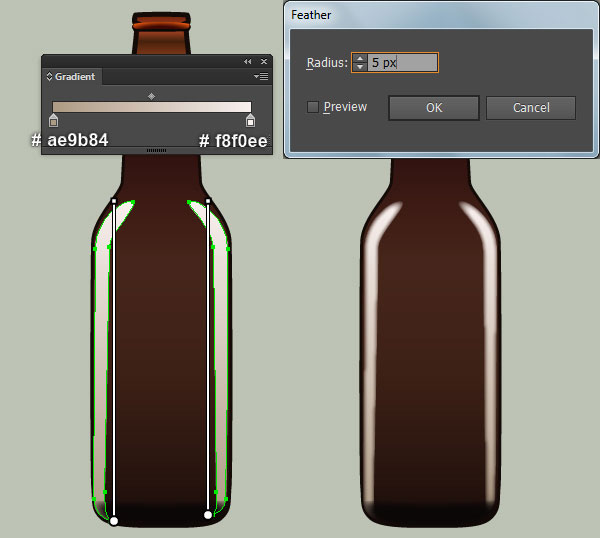
8. We are going to start making highlights on the bottle to give it more of a 3D look. Pick the Pen Tool (P) and create two white objects like you see in the first image.
Once your objects are drawn, remove their strokes and then fill these objects with the linear gradient as shown in the second image. Keep the resulting shapes selected and go to the Effect > Stylize > Feather… Enter a 5px Radius and click OK.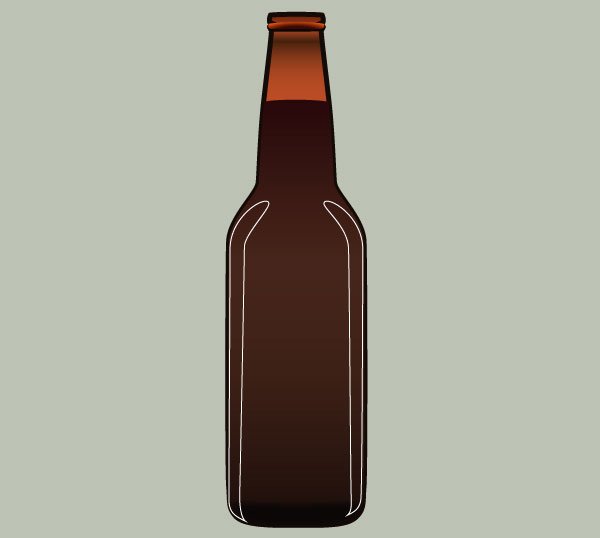
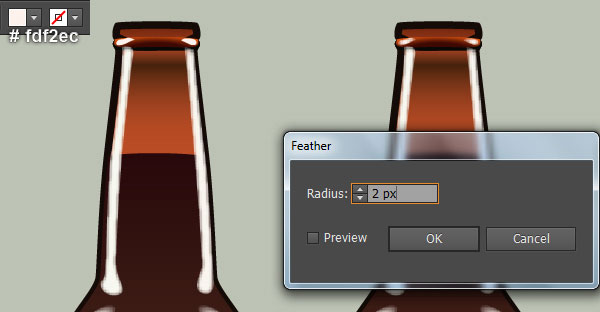
9. Pick the Pen Tool (P) and create two light grayish yellow shapes (#f7f8f0) like you see in the first image. Still having the newly created shapes selected and go to the Effect > Stylize > Feather… Enter a 3px Radius and click OK. Continue with the Pen Tool (P), create two light grayish orange shapes (#fdf2ec) as shown in the third image. Next apply a 2px Feather effect for the two newly created shapes.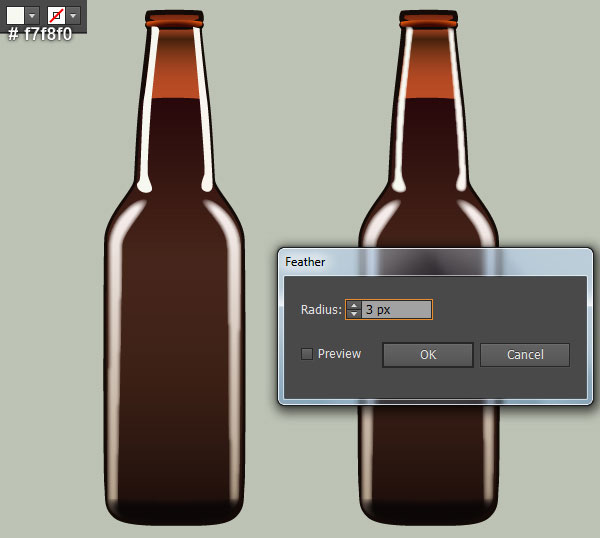
10. With the Pen Tool (P), create a dark red shape (#b1351f) like you see in the first image. Still having the newly created shape selected and go to the Effect > Blur > Gaussian Blur… Enter a 8px Radius and click OK. Continue create a strong orange shape (#d5572b) as shown in the third image. Next apply a 8px Feather effect for the newly created shape.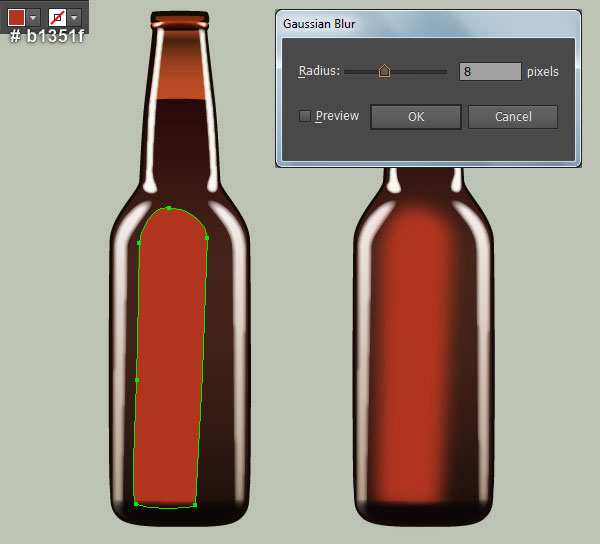
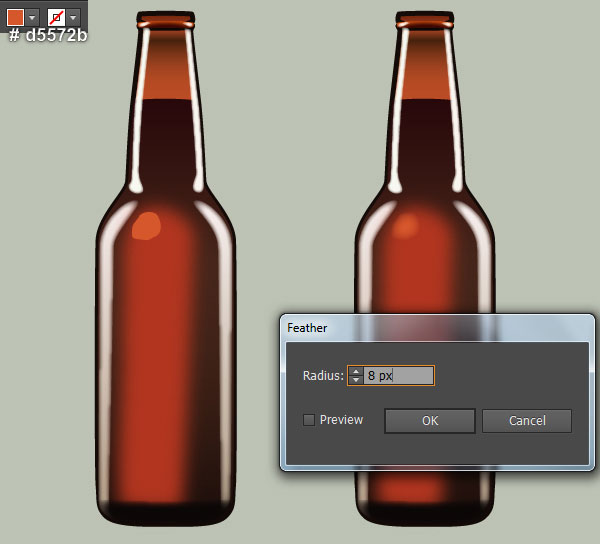
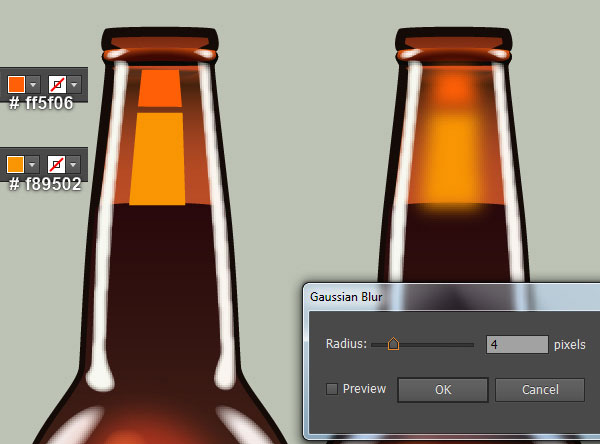
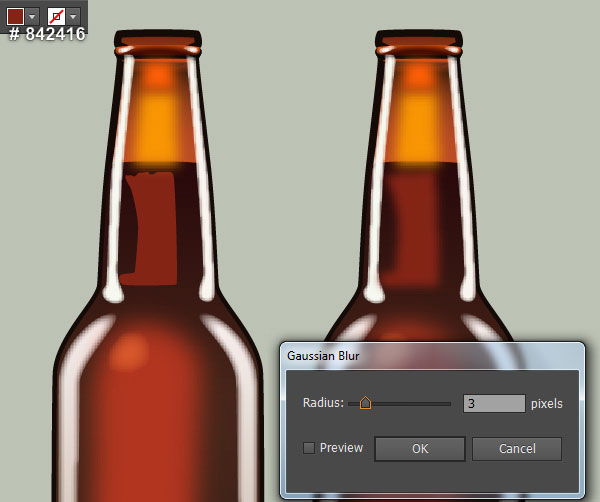
11. With the help of the Pen Tool (P) and the Gradient Tool (G), create a shape like you see in the first and the second image. Once your shape is drawn, hide it behind the first shape created in step 7. Continue with the Pen Tool (P), create two shapes as shown in the fourth image. Reselect the two newly created shapes and go to the Effect > Blur > Gaussian Blur… Enter a 4px Radius and click OK. Now with the Pen Tool (P), create a dark red shape (#842416) like you see in the next to last image. Next apply a 3px Gaussian Blur effect for the newly created shape.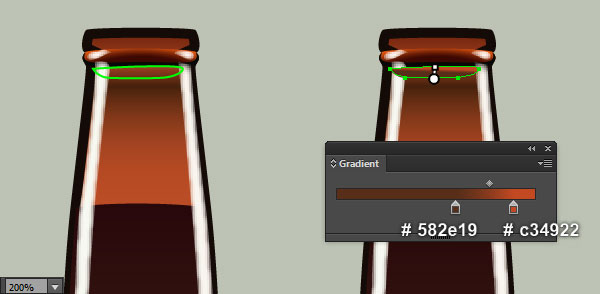
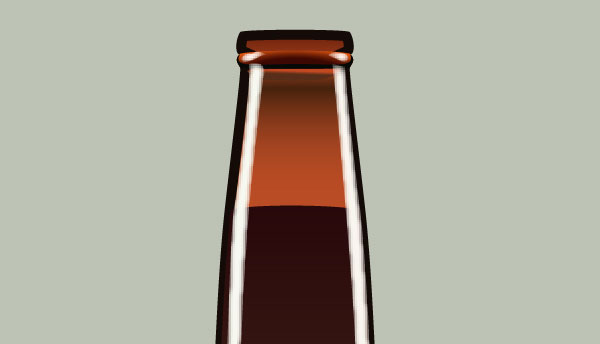
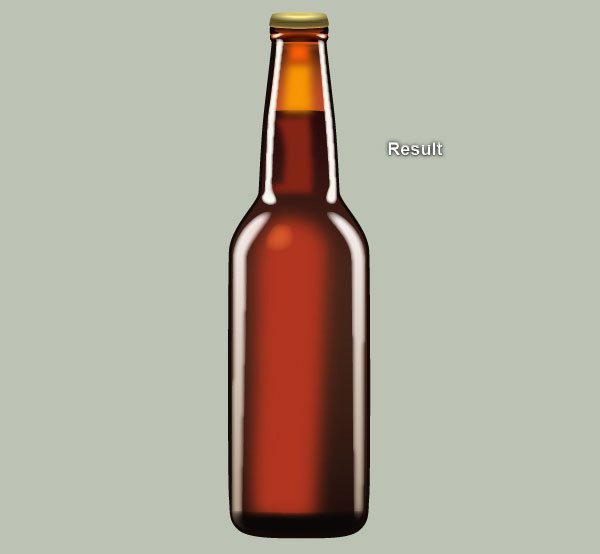
12. At this point your bottle should look like in the next image: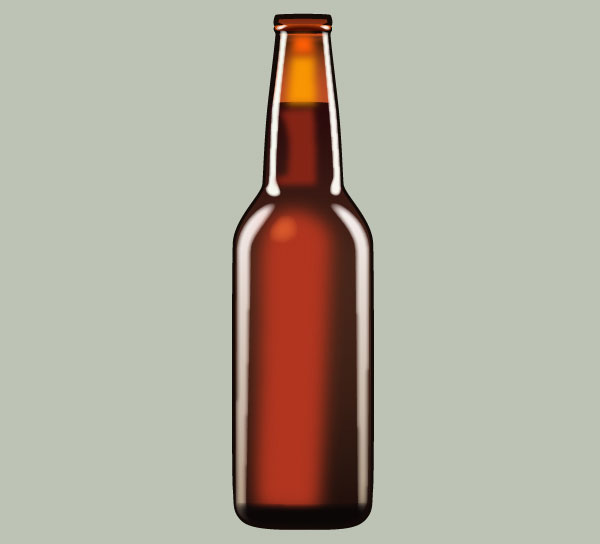
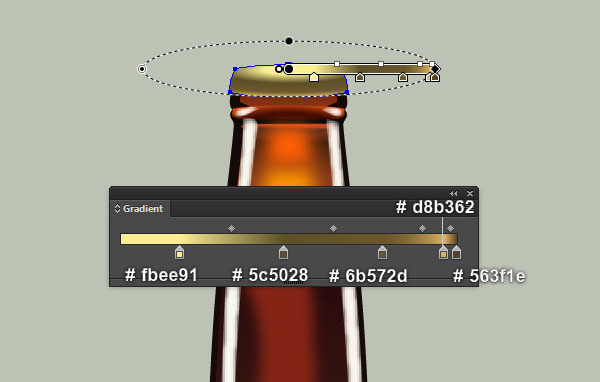
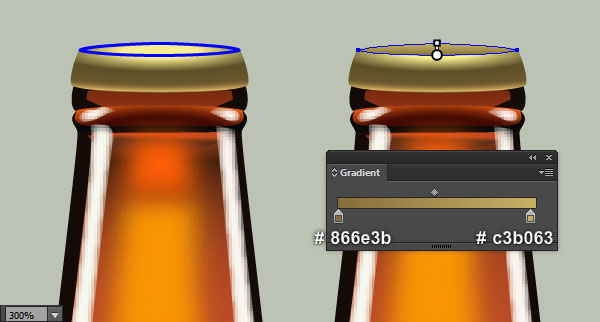
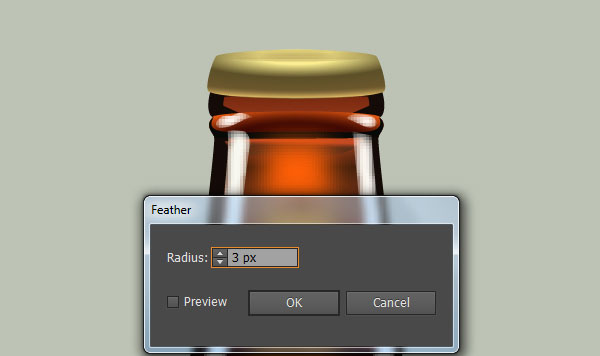
13. It’s time to draw the bottle cap. Pick the Pen Tool (P) and create a red object as shown in the first image. Once your object is drawn, remove its stroke and then fill this object with the radial gradient like you see in the second image. With the help of the Pen Tool (P) and the Gradient Tool (G), create an ellipse like you see in the third and the fourth image. Still having the newly created ellipse selected and go to the Effect > Stylize > Feather… Enter a 3px Radius and click OK.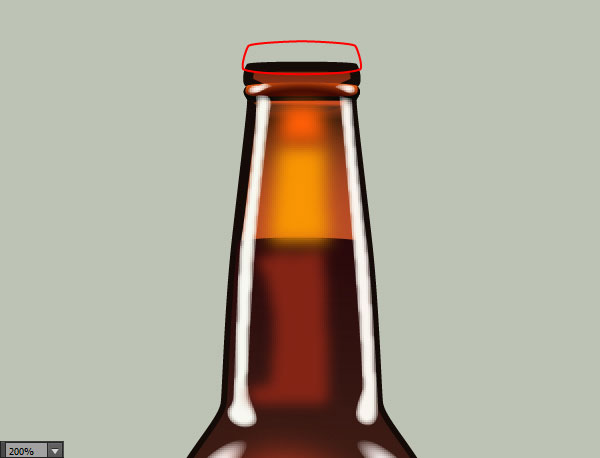
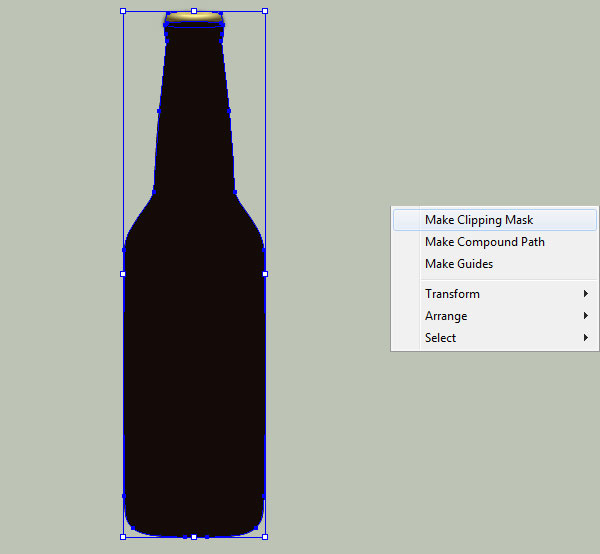
14. Select the first shape created in step 13 and make a copy (Ctrl +C, Ctrl +F) of it. Keep this copy selected and go to the Effect > Stylize > Drop Shadow… Follow the data like you see in the first image and click OK. Now select the shape created in step 3 and make a copy of it, then bring the copy to front (Ctrl +Shift +Right Square Bracket). Still having the copy selected, hold down Shift and click on the shape with shadow effect applied in this step. Right-click on the artboard and then select the Make Clipping Mask section from the drop-down menu. Finally hide this clipping set behind the first shape created in step 13.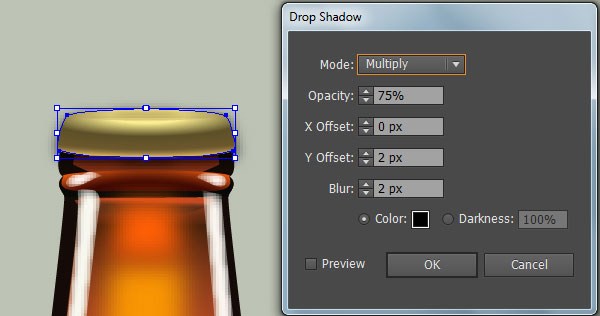
15. Pick the Pen Tool (P) and create four blue objects like you see in the first and the second image. Once your objects are drawn, reselect the right blue object, remove its stroke and fill this object with the linear gradient as shown in the third image. Likewise, repeat the same techniques for the remaining three blue objects.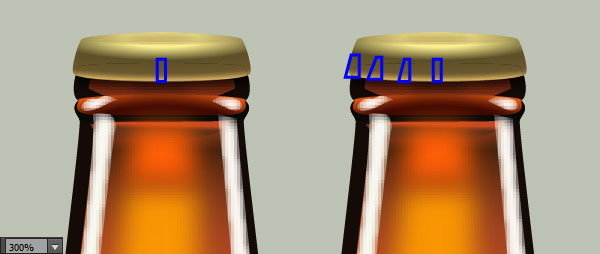
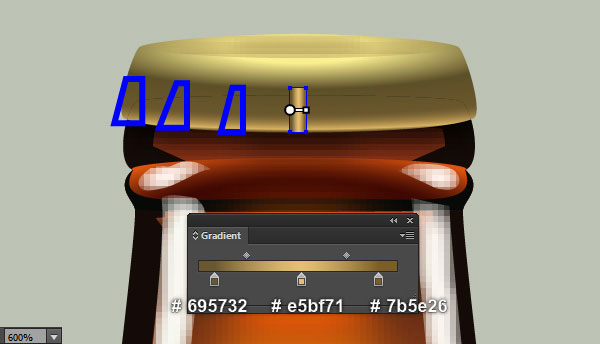
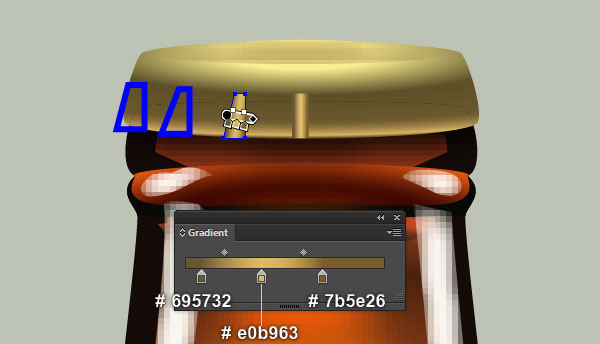
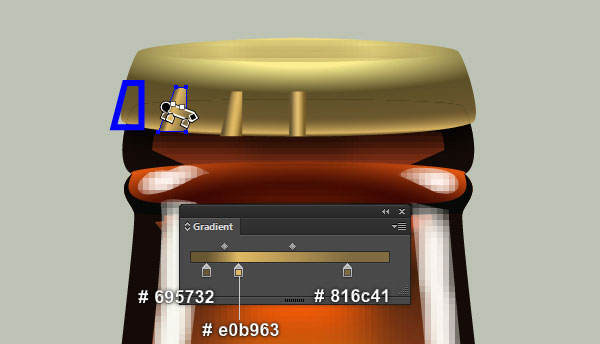
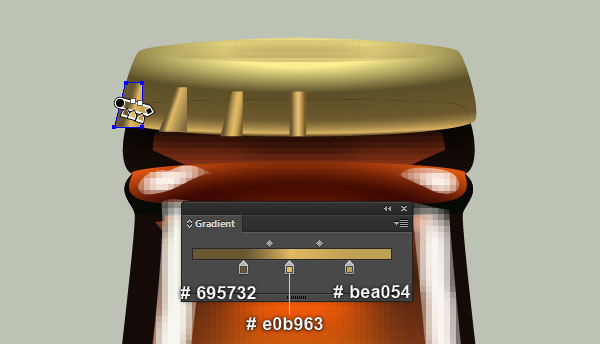
16. Select three shapes as shown in the first image and go to the Object > Transform > Reflect… Check the Vertical and click Copy. Select the resulting shapes, drag them to the right and place them as shown in the second image.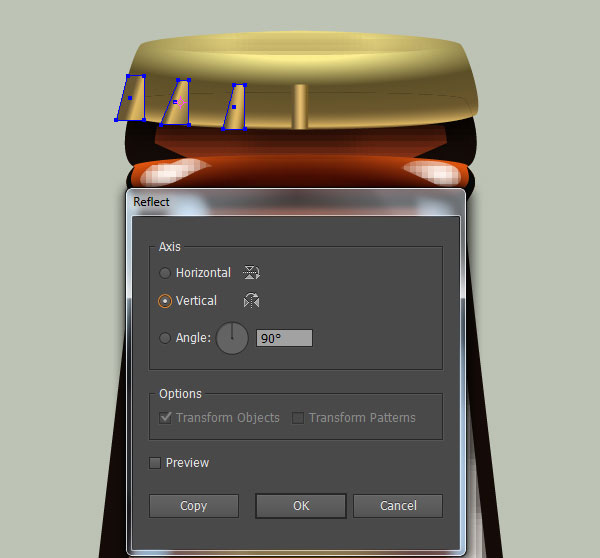
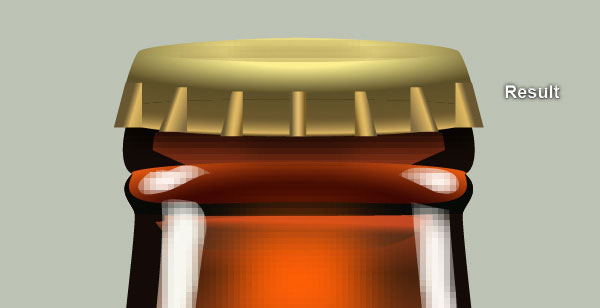
17. The beer bottle is ready and looks like this: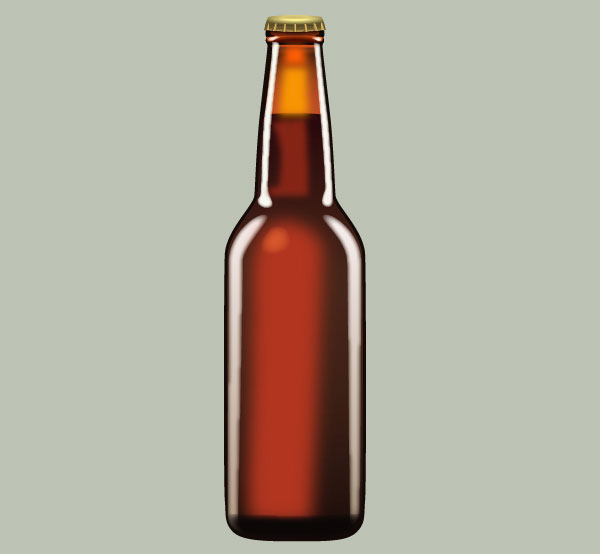
Create the Green Beer Bottle.
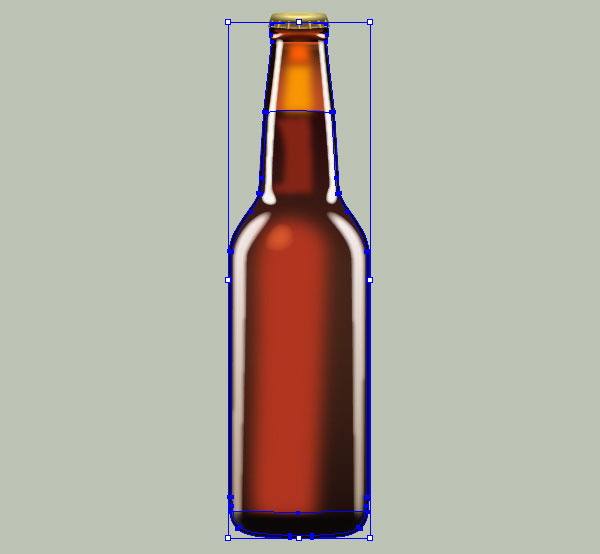
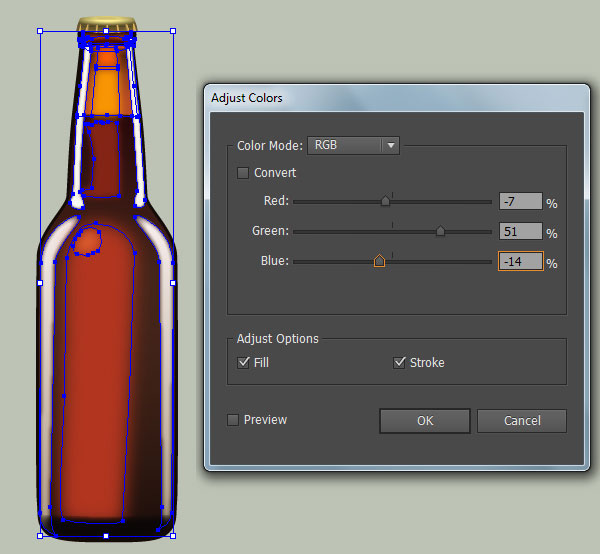
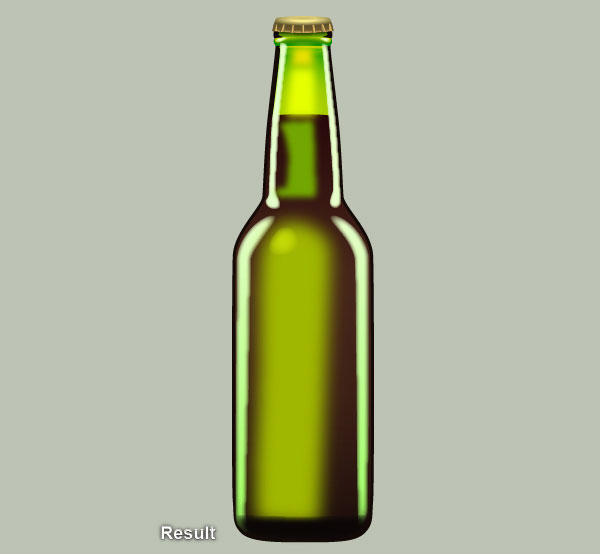
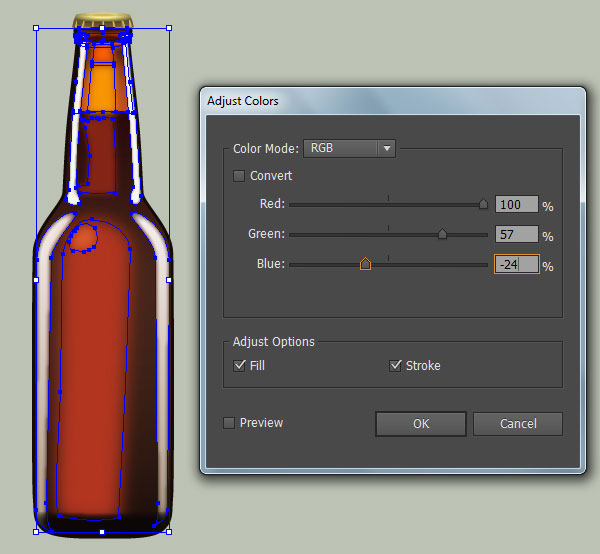
18. We will continue with the green beer bottle. Select all objects of the dark red beer bottle and make a copy (Ctrl +C, Ctrl +F) of them. Then place these copies to new positions. Now select three shapes with dark colors and press (Ctrl +2) to lock them. Next select all objects of the beer bottle (except the cap) and go to the Edit > Edit Colors > Adjust Color Balance… Follow the data like you see in the second image and click OK. The resulting beer bottle should look like the last image below.
Create the Yellow Beer Bottle.
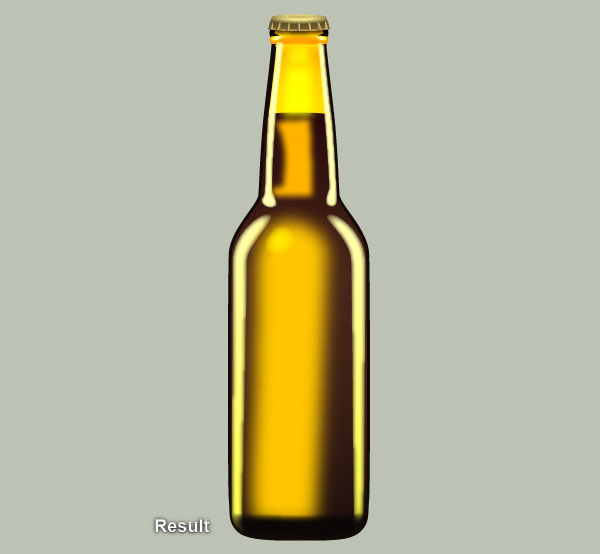
19. Next come the yellow beer bottle. Select all objects of the dark red beer bottle and make a copy (Ctrl +C, Ctrl +F) of them. Then place these copies to new positions. Now select three shapes with dark colors and press (Ctrl +2) to lock them. Next select all objects of the beer bottle (except the cap) and go to the Edit > Edit Colors > Adjust Color Balance… Follow the data like you see in the second image and click OK. The resulting beer bottle should look like the last image below.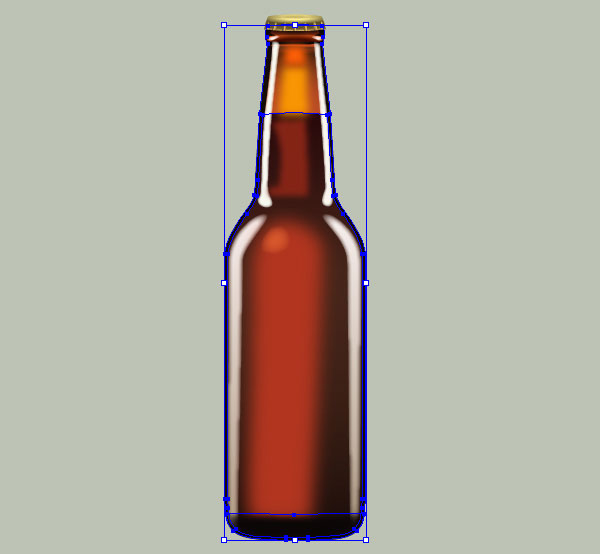
20. The beer bottles are done!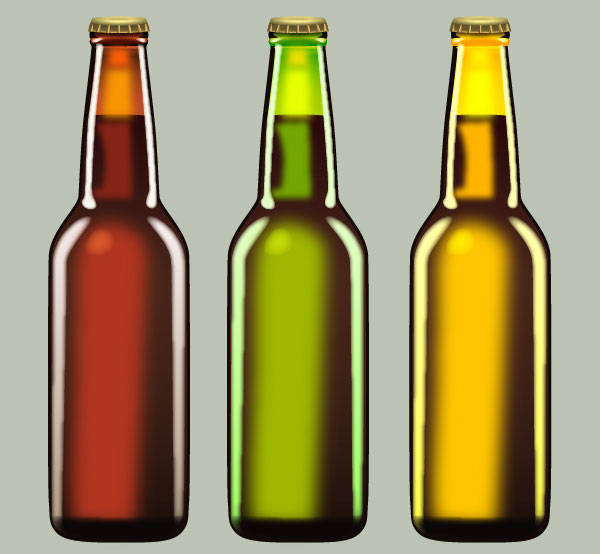
Create the Background
21. We’re done with the beer bottles. It’s time for the background now. With the help of the Rectangle Tool (M) and the Gradient Tool (G), create a 802 by 787px rectangle like you see in the first image. Next place three beer bottles into the newly created background.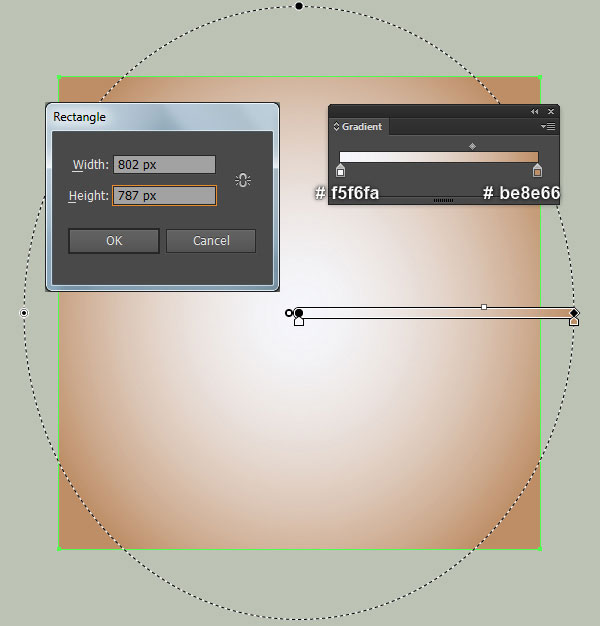
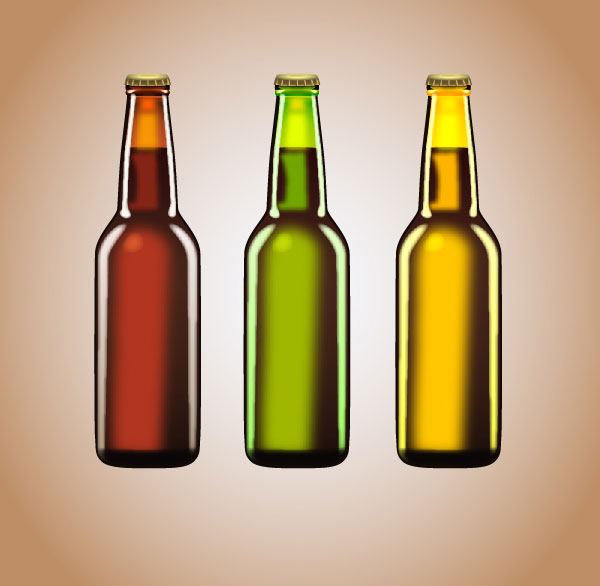
22. Pick the Ellipse Tool (L) and create a 160 by 28px yellow ellipse, then place it to the position like you see in the first image. Reselect the newly created ellipse, remove its stroke and fill this object with the radial gradient as shown in the second image. Still having the resulting ellipse selected and go to the Effect > Blur > Gaussian Blur… Enter a 3px Radius and click OK. Next hide the resulting ellipse behind the dark red beer bottle. Finally make two copies of the newly created ellipse and then place them to the correct positions as shown in the last image.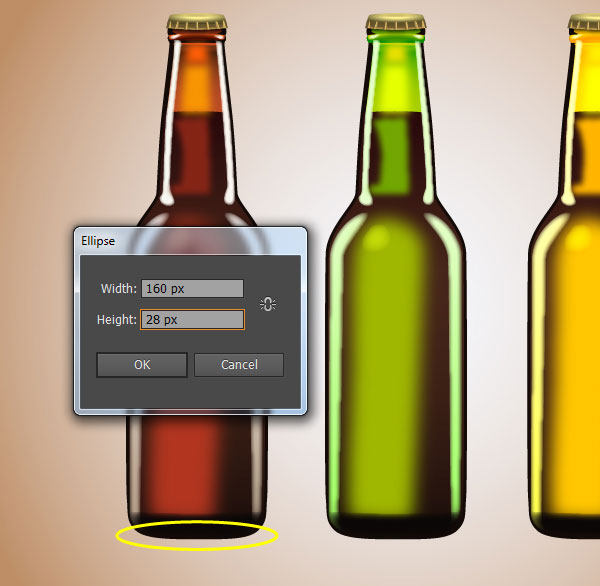
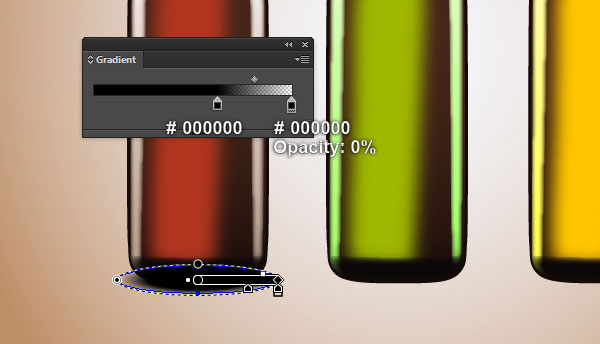
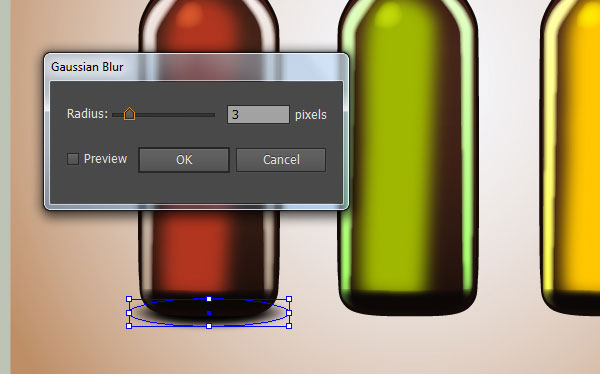
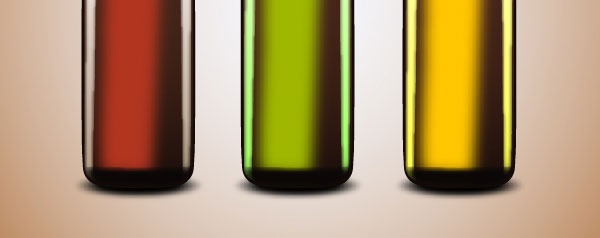
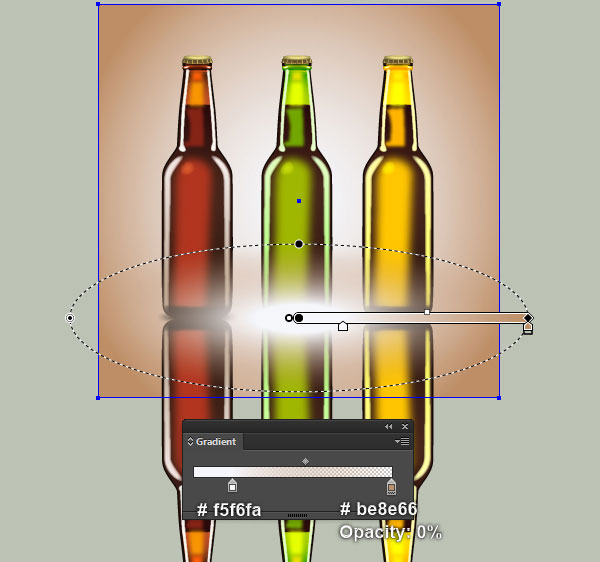
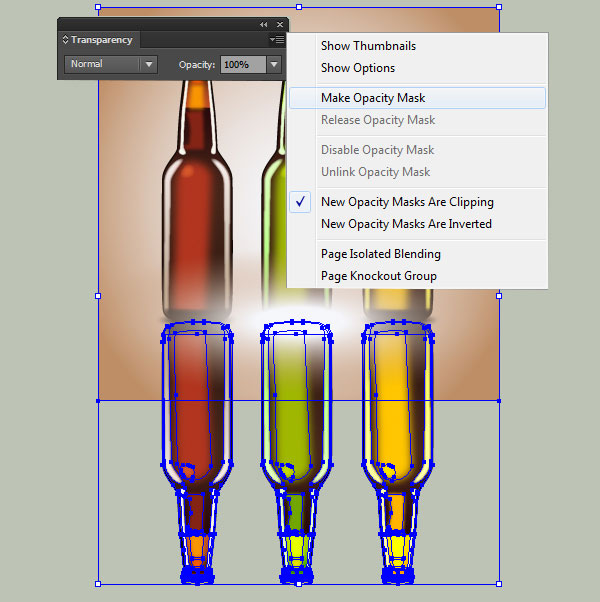
23. Select three beer bottles and go to the Object > Transform > Reflect… Check the Horizontal and click Copy. Then press (Ctrl +G) to group the copies. Now select the rectangle created in step 21 and make a copy (Ctrl +C, Ctrl +F), then bring this copy to front (Ctrl +Shift +Right Square Bracket). Next replace the existing fill color of the newly created rectangle with new radial gradient as shown in the third image. Keep the resulting rectangle selected, hold down Shift and click on the group created in this step. Open the Transparency panel (Window > Transparency), choose Show Options from the panel menu to see the thumbnail images. Then click on the Make Mask button.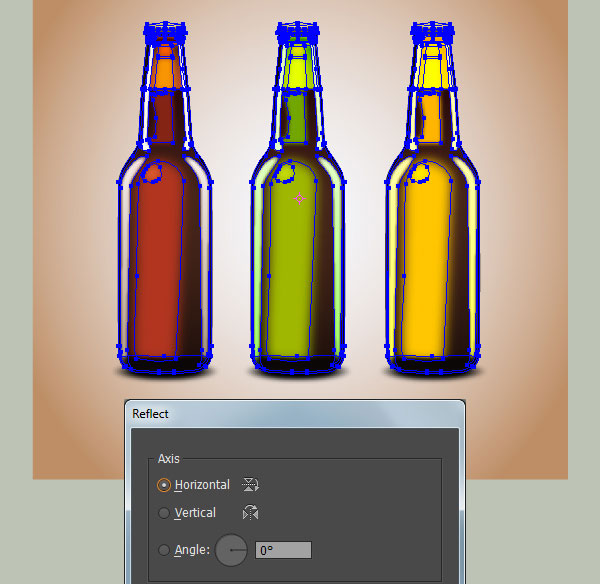
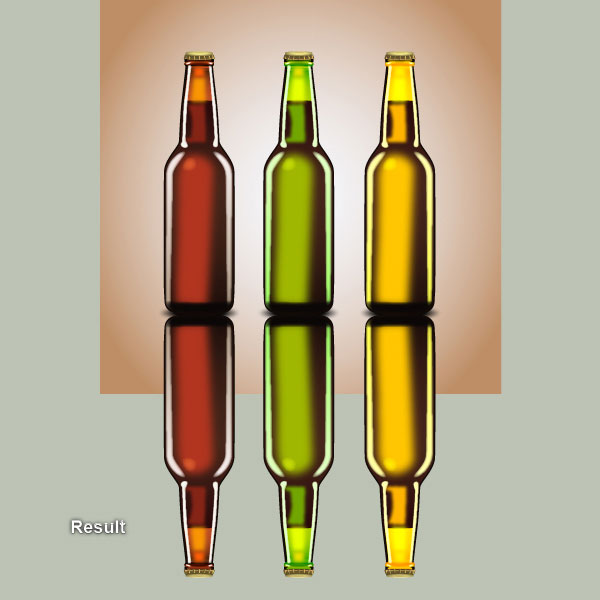
And We’re Done!
